This lab demonstrates ability to design and implement a streamlined security ticketing workflow using industry-standard tools and best practices. The project simulates real-world incident management by automating the intake, categorization, escalation, and resolution of security tickets. Configure a ticketing system to handle various threat scenarios, integrated alert sources, and build custom workflows to ensure timely response.
Cybrary is a well established and free IT training platform with several intuitive labs to explore
A paid subscription with more advanced labs is available as well outside the scope of this platform
Head to https://www.cybrary.it to create a free account for learning available on their platform
Head to Security Ticketing to complete this training lab for yourself or perform on your homelab below
Quick Links:
Requirements:
• Ubuntu Live USB created in Linux CLI Basics
• Second PC with at least 16GB of memory and 4CPU cores
Ticketing is the process of categorizing action items into an organized workflow for professionals
This is a common work queue within analyst roles, security tickets focus on alerts which need attention
An IT ticketing system is a tool used to track IT service requests, events, incidents and alerts
There are many elements which compose a ticket including details, title, metadata, and description
Let's explore the workflow of a security ticket from inception, assignment and resolution together
1. Boot up the Ubuntu Live Desktop
The lab utilizes a well known Linux Distribution Ubuntu based on Debian to explore security ticketing
You can use the operating system without having to install it onto your hard drive with a live USB
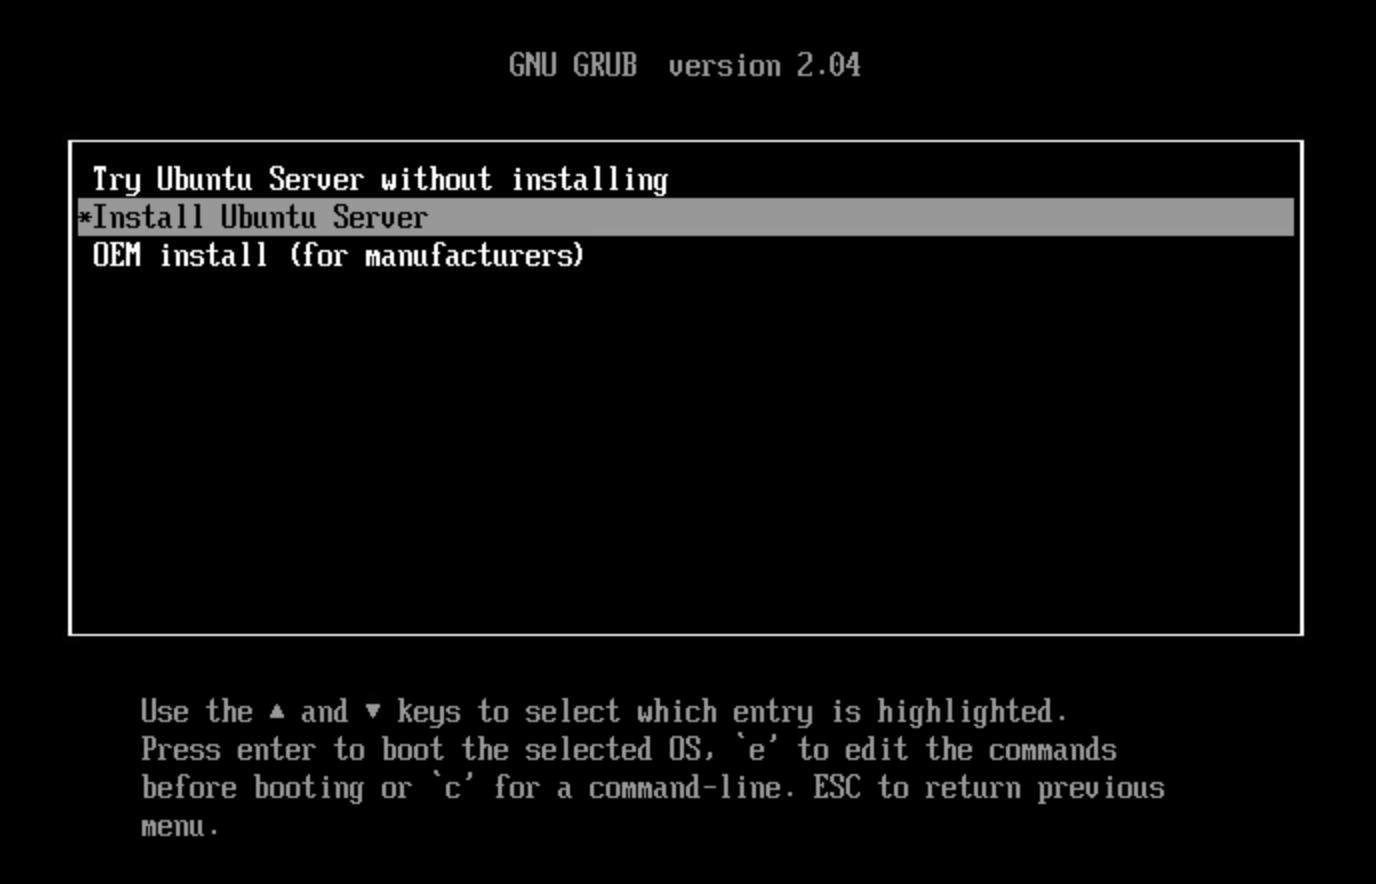
Insert the live USB Flash Drive into your PC and start the system, hit the hot boot key on startup:

Select UEFI USB Flash Boot. Allow Ubuntu to load and scroll to select the Install or Try Ubuntu:
Now allow your workstation a moment to load and you will be taken to the Ubuntu setup utility
Navigate through the language and keyboard layout options until you reach the 'Try Ubuntu' option:
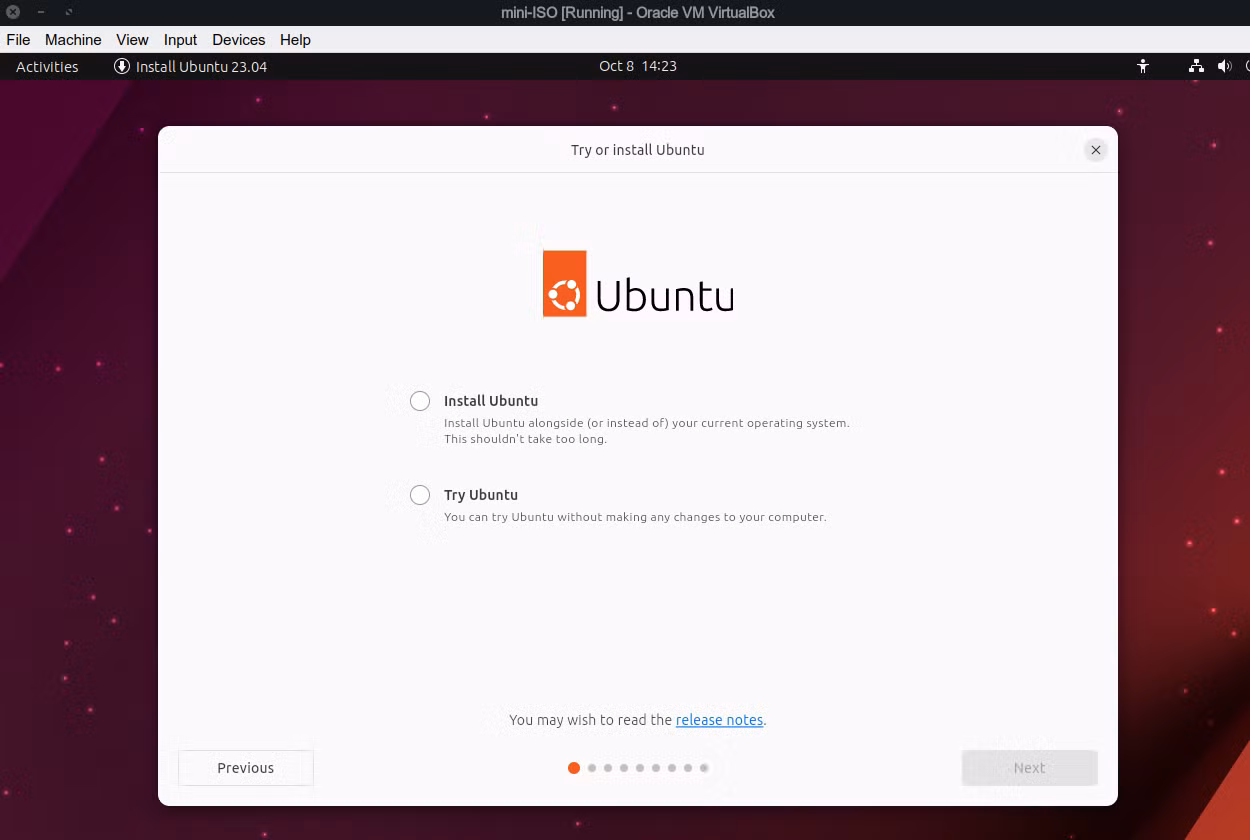
Once selected you will be able to close the setup window and enter the Ubuntu Graphical Desktop
This live system won't save anything on your PC's hard drive and we will complete the lab here
2. Install theHive
theHive is an open source ticketing system for user support workflows with a free community version
We will be using this application to investigate logs, create profiles and resolve security tickets
theHive functions as a web protocol accessible from port 9000 and refers to security tickets as cases
Here we will install theHive web application, right click the desktop and select open in terminal:

Run the following commands from the terminal to download and execute the automated installer script:
ubuntu@ubuntu:~/Desktop$ wget -q -O /tmp/install_script.sh https://scripts.download.strangebee.com/latest/sh/install_script.sh
ubuntu@ubuntu:~/Desktop$ sudo -v
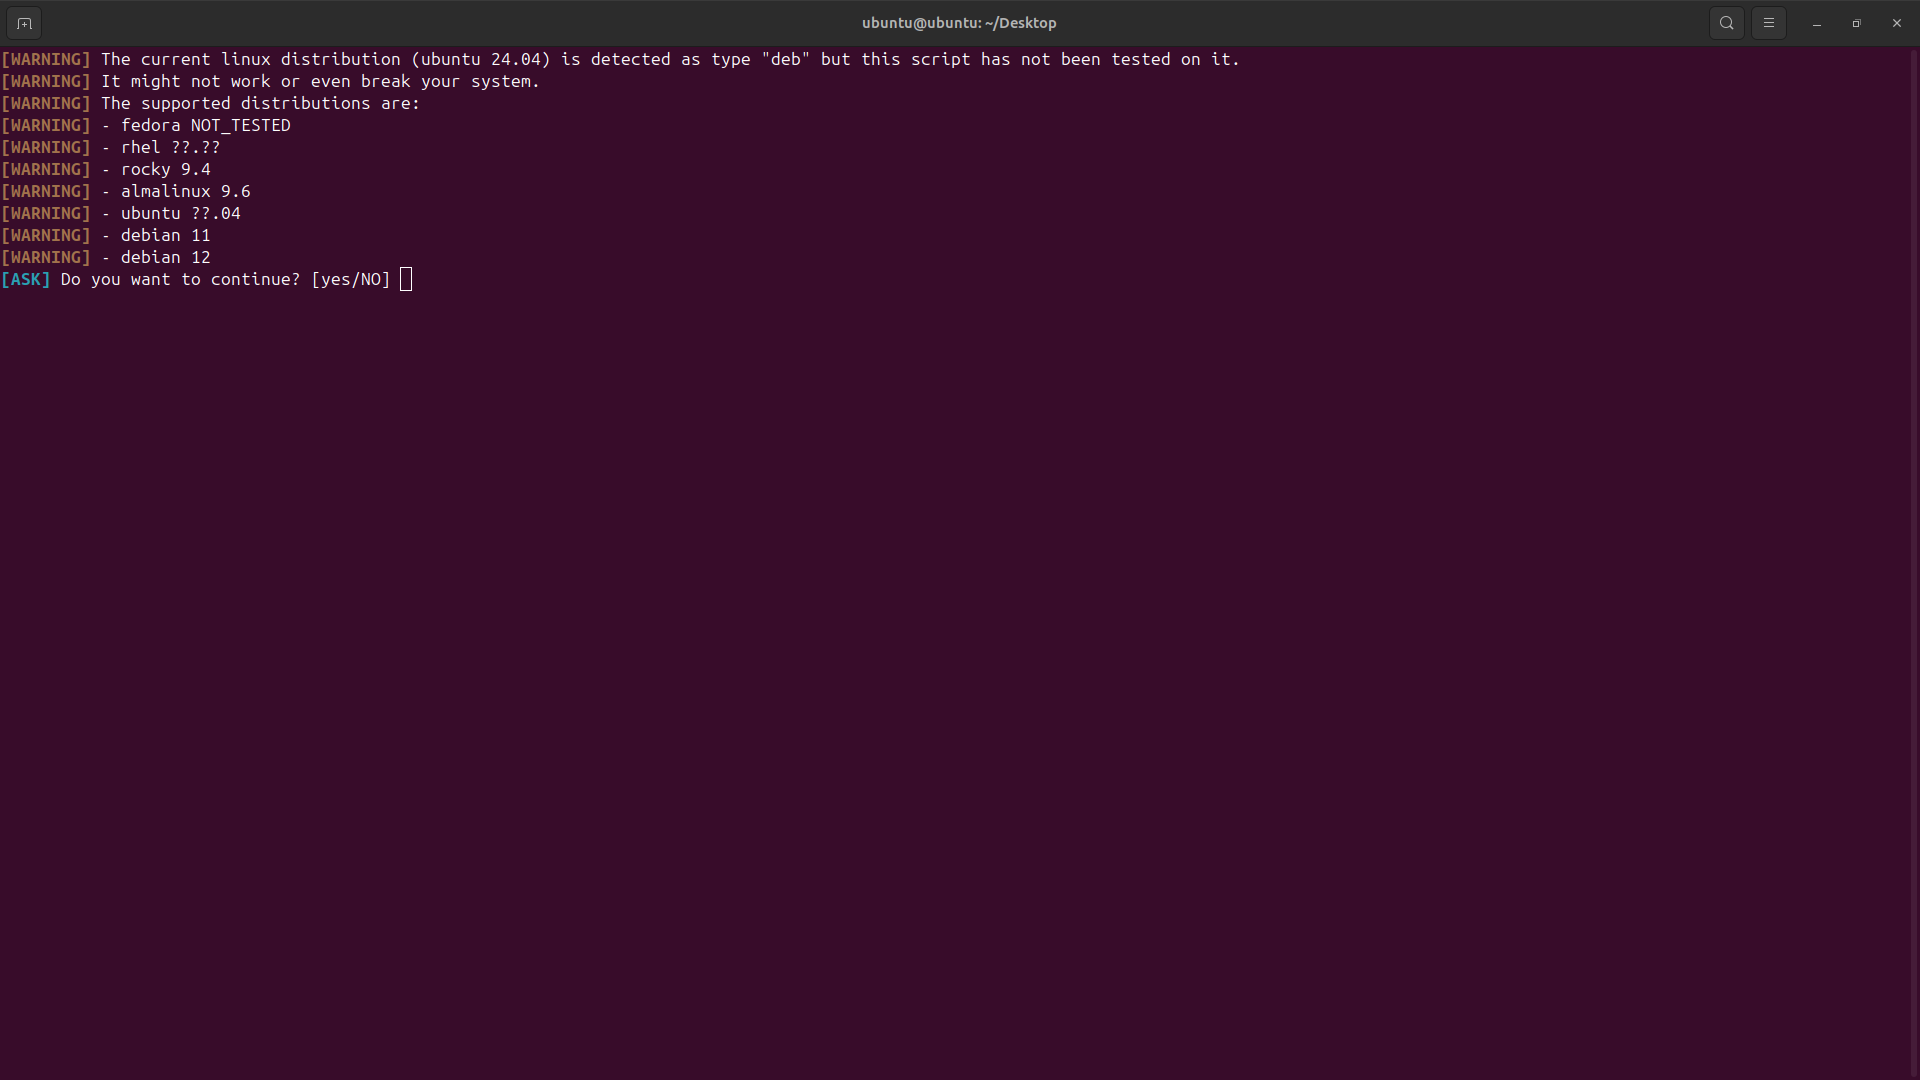
ubuntu@ubuntu:~/Desktop$ bash /tmp/install_script.sh
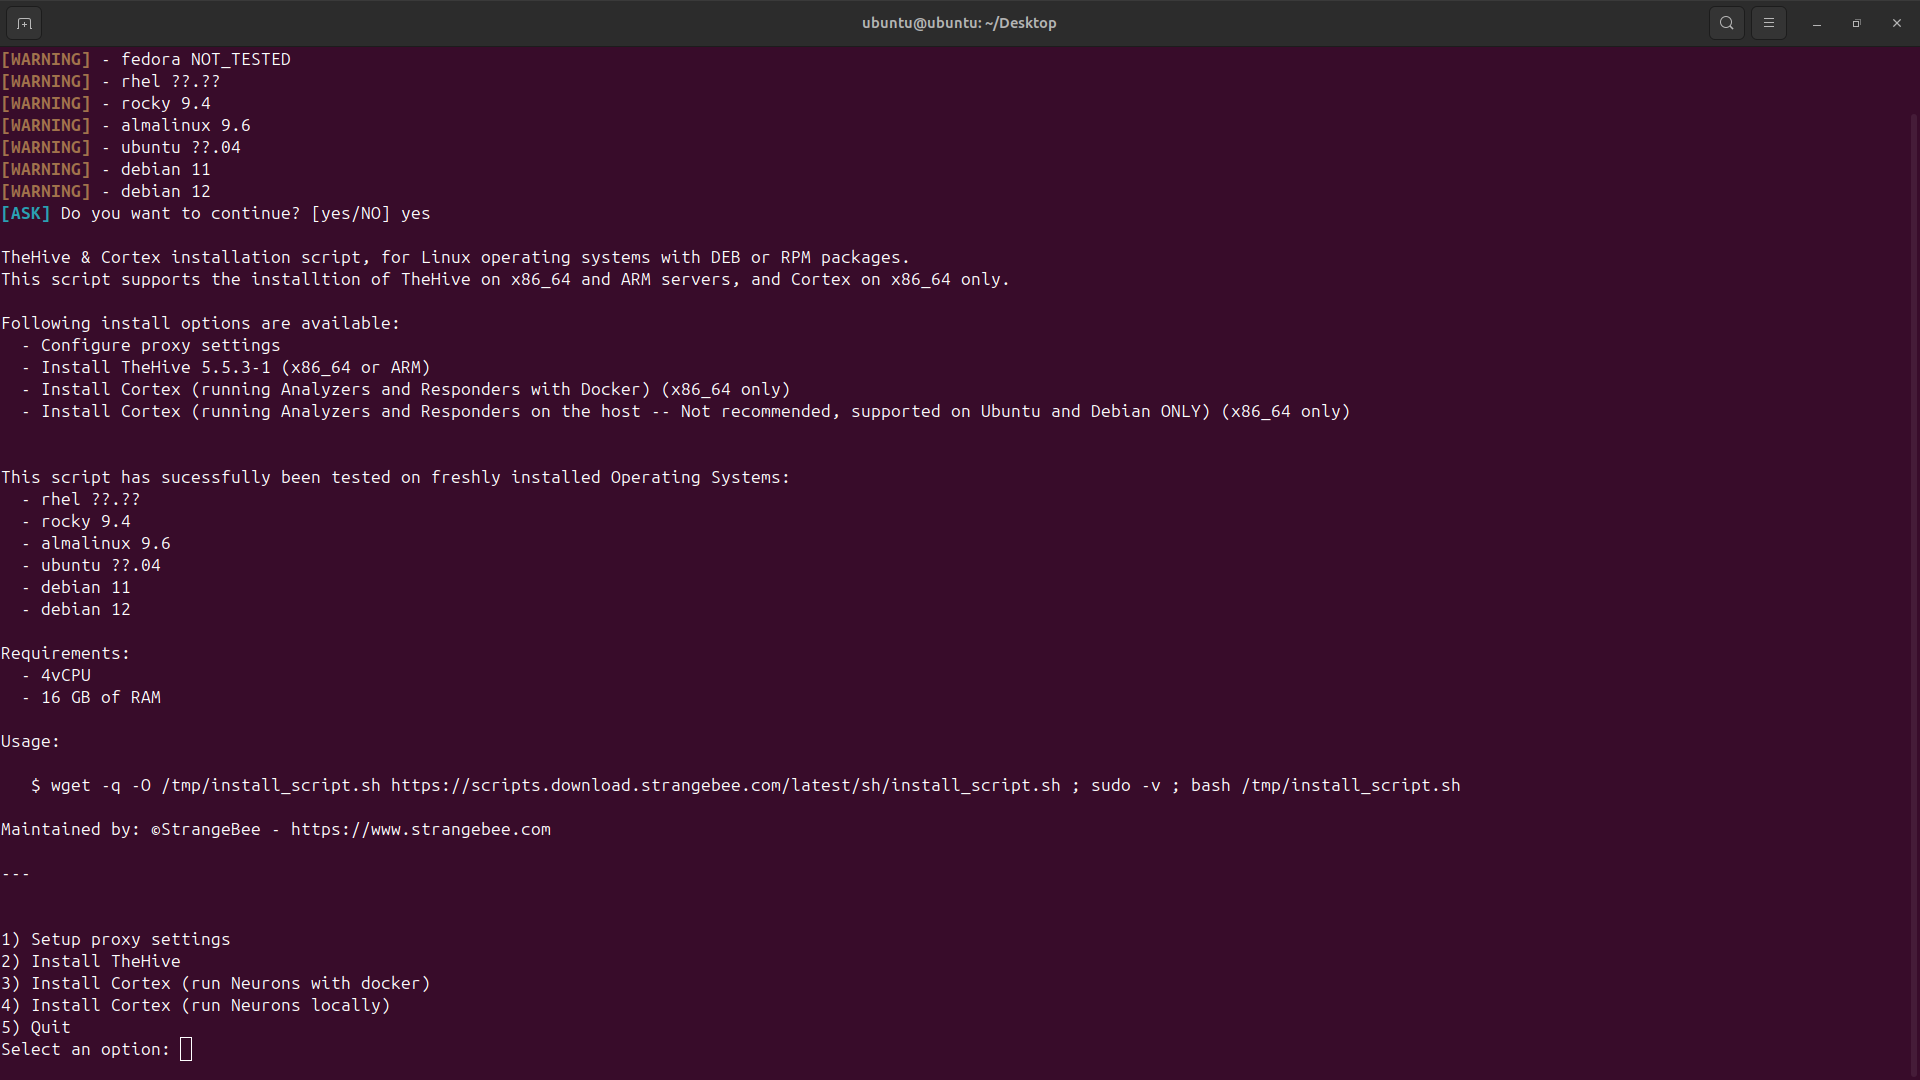
This will start the automated script to install the dependencies, type yes if you receive this message:
From here the installer will ask which options you'd like, type 2 and hit enter to install theHive:
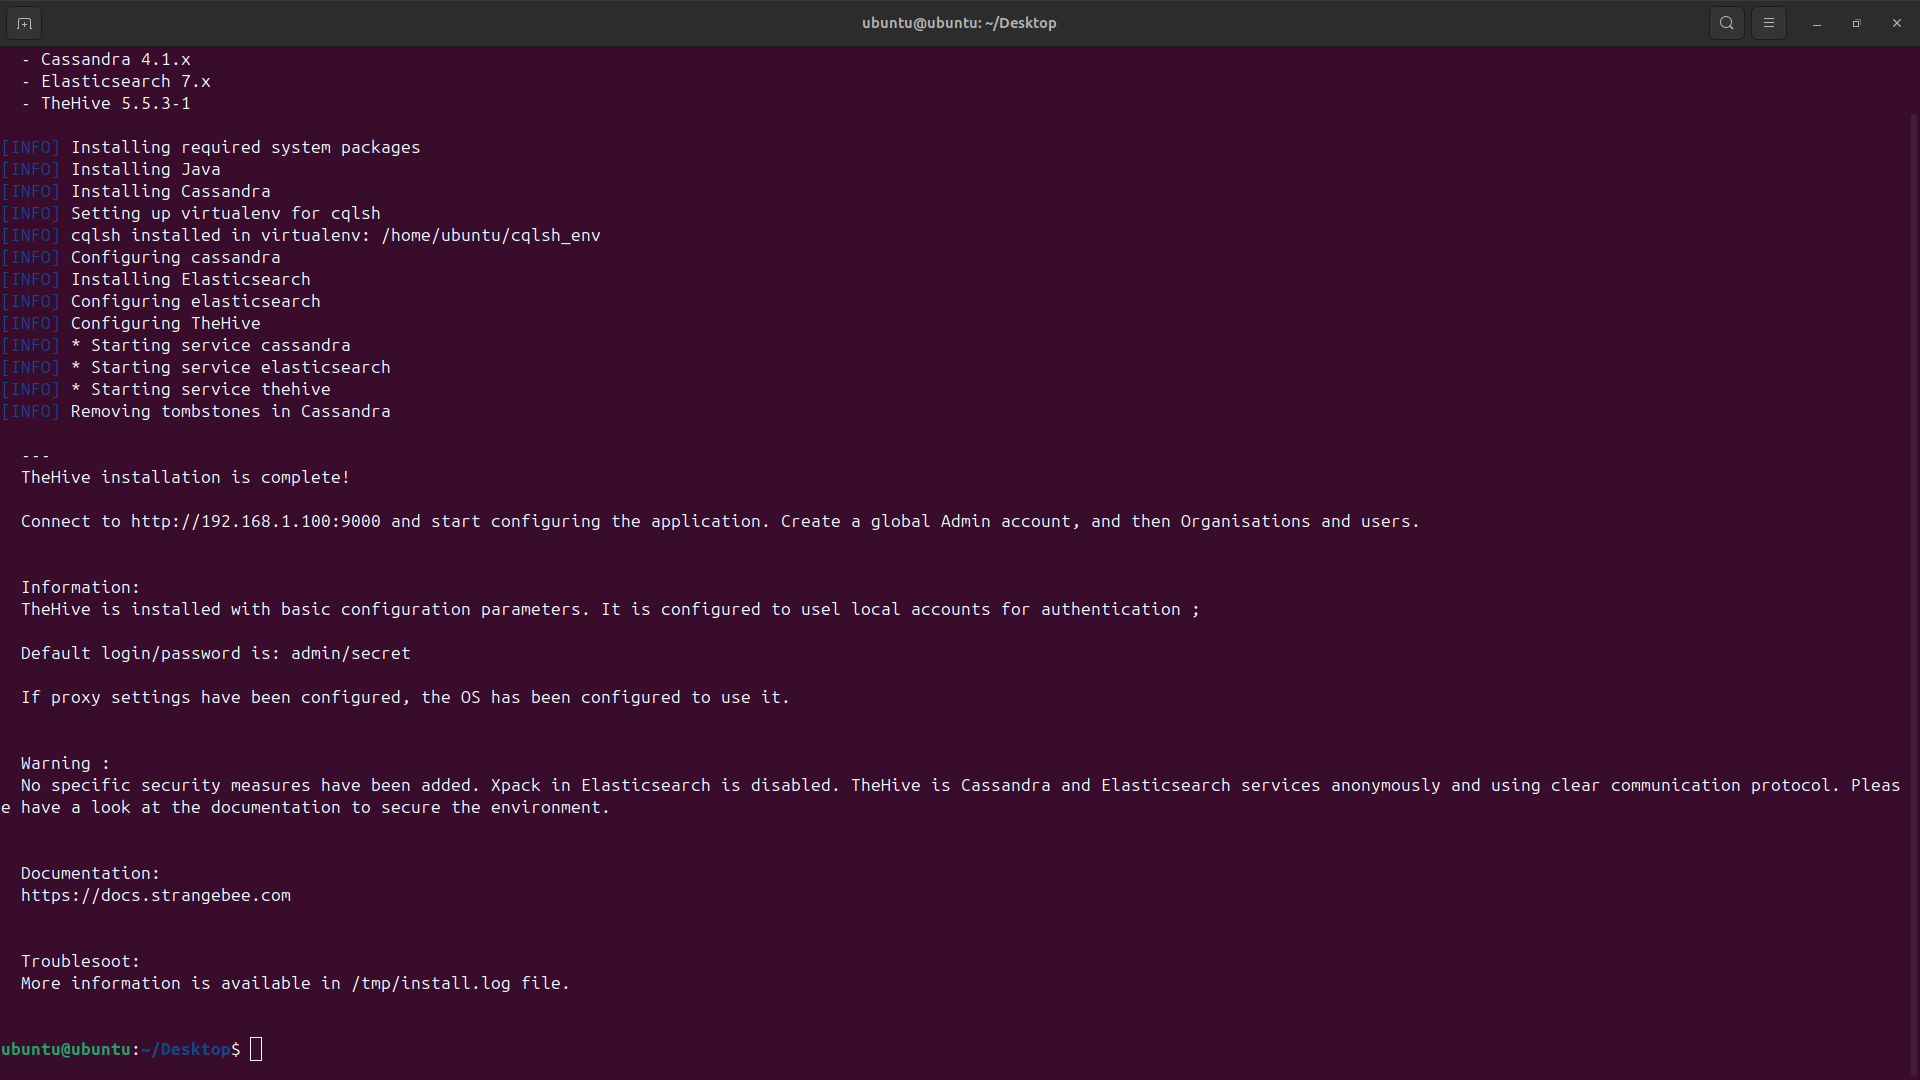
Now the script will install the Java Development Kit and Elasticsearch dependencies along with Cassandra
Cassandra is a database server that theHive uses to store and categorize security tickets and workflows
This will take some time to complete but once completed it will present you with an ip for the platform:
Note that because of so many dependencies and moving parts, theHive is a very resource intensive application
Ensure not to perform this lab on a computer with unsaved work since crashes and memory overflows are common
3. Provisioning Users and Organization Roles
Head to your firefox browser on the left dock and use localhost:9000 to access the platform and configure:
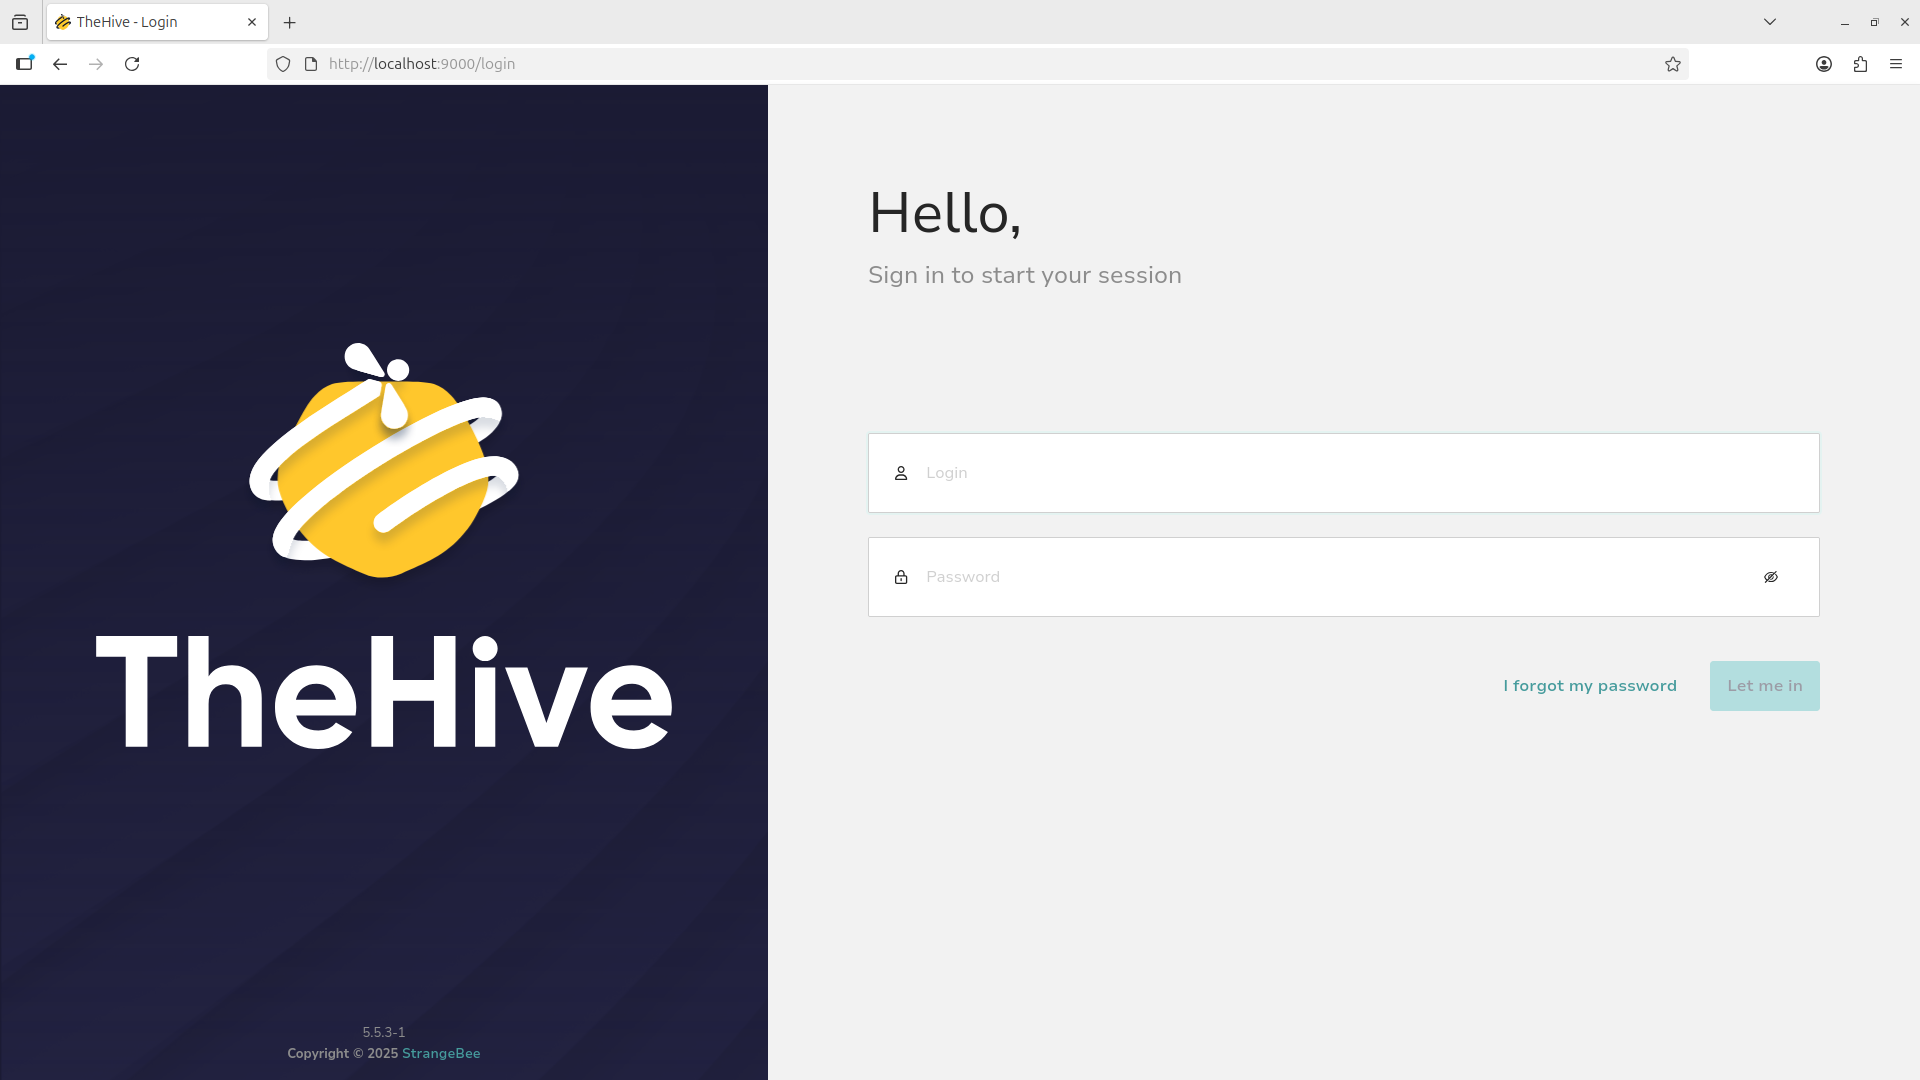
Use the default login credentials admin@thehive.local/secret to access the administrator account
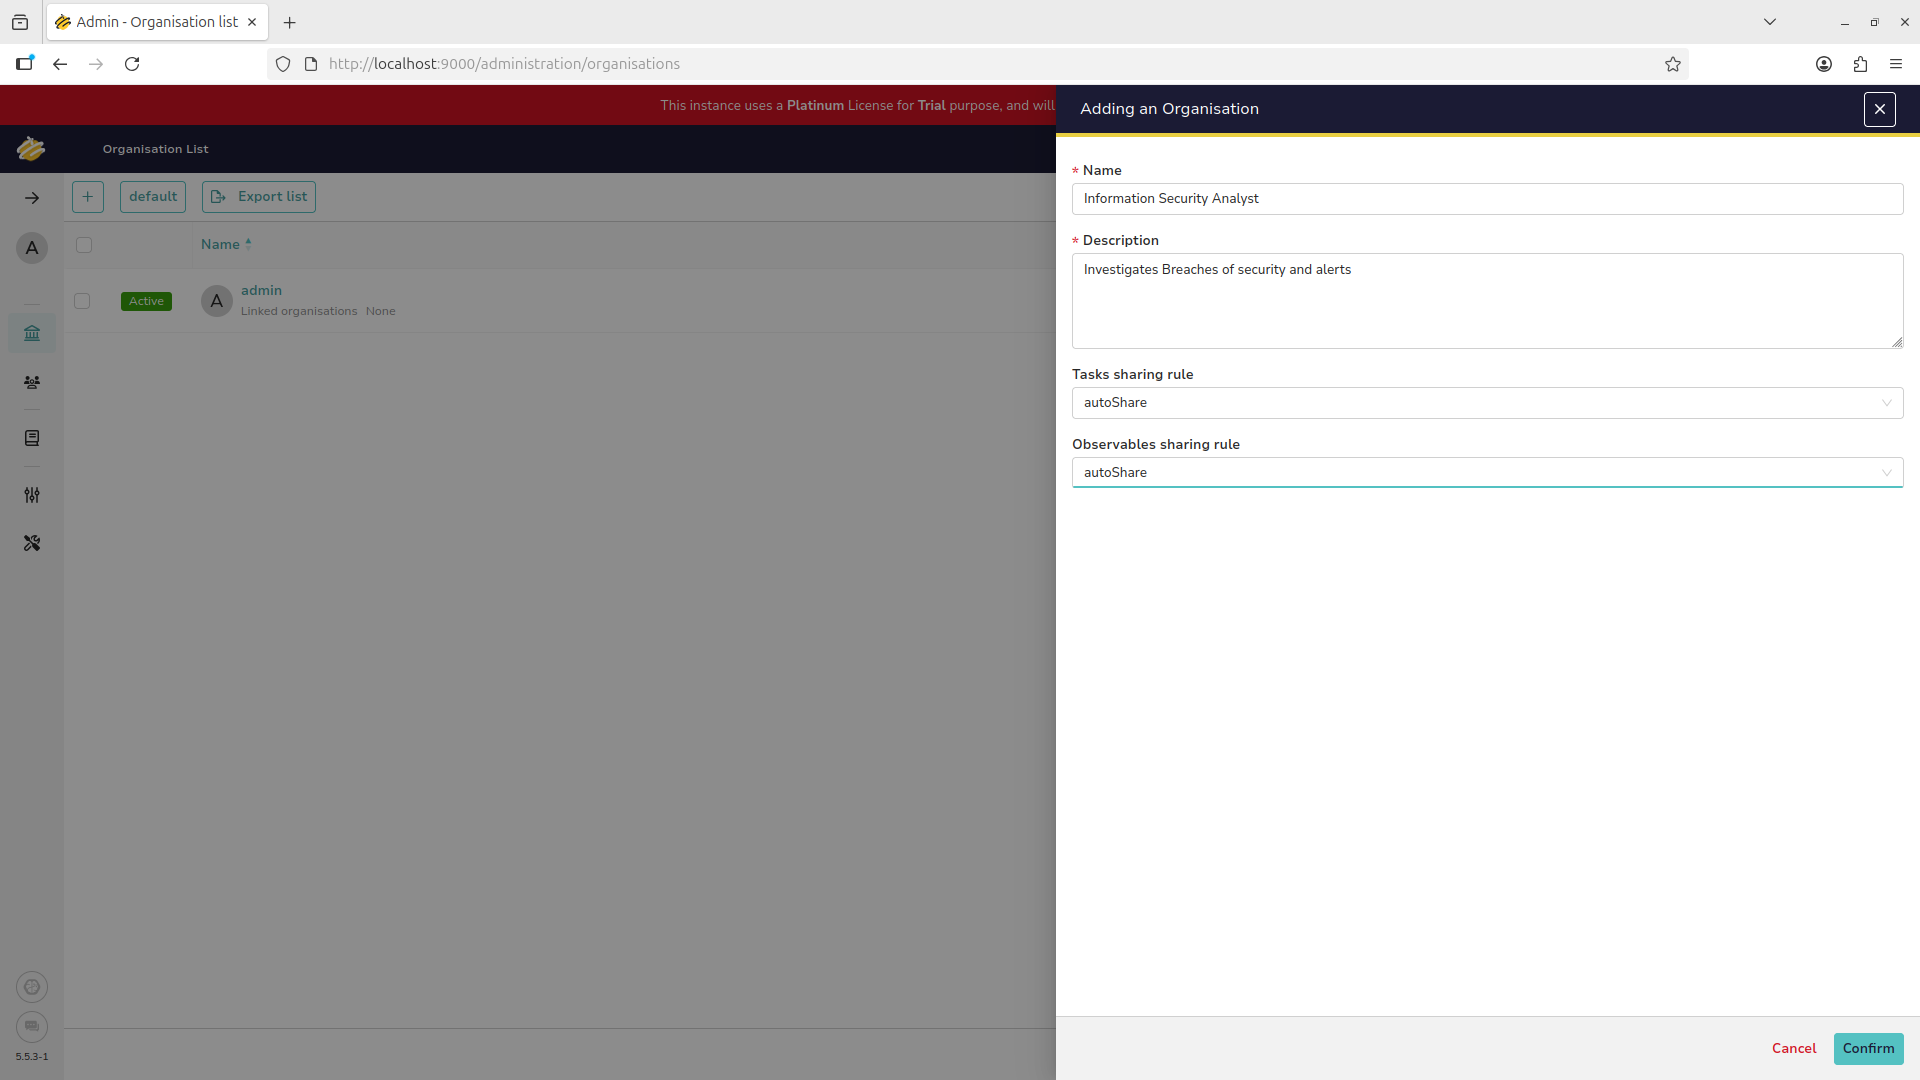
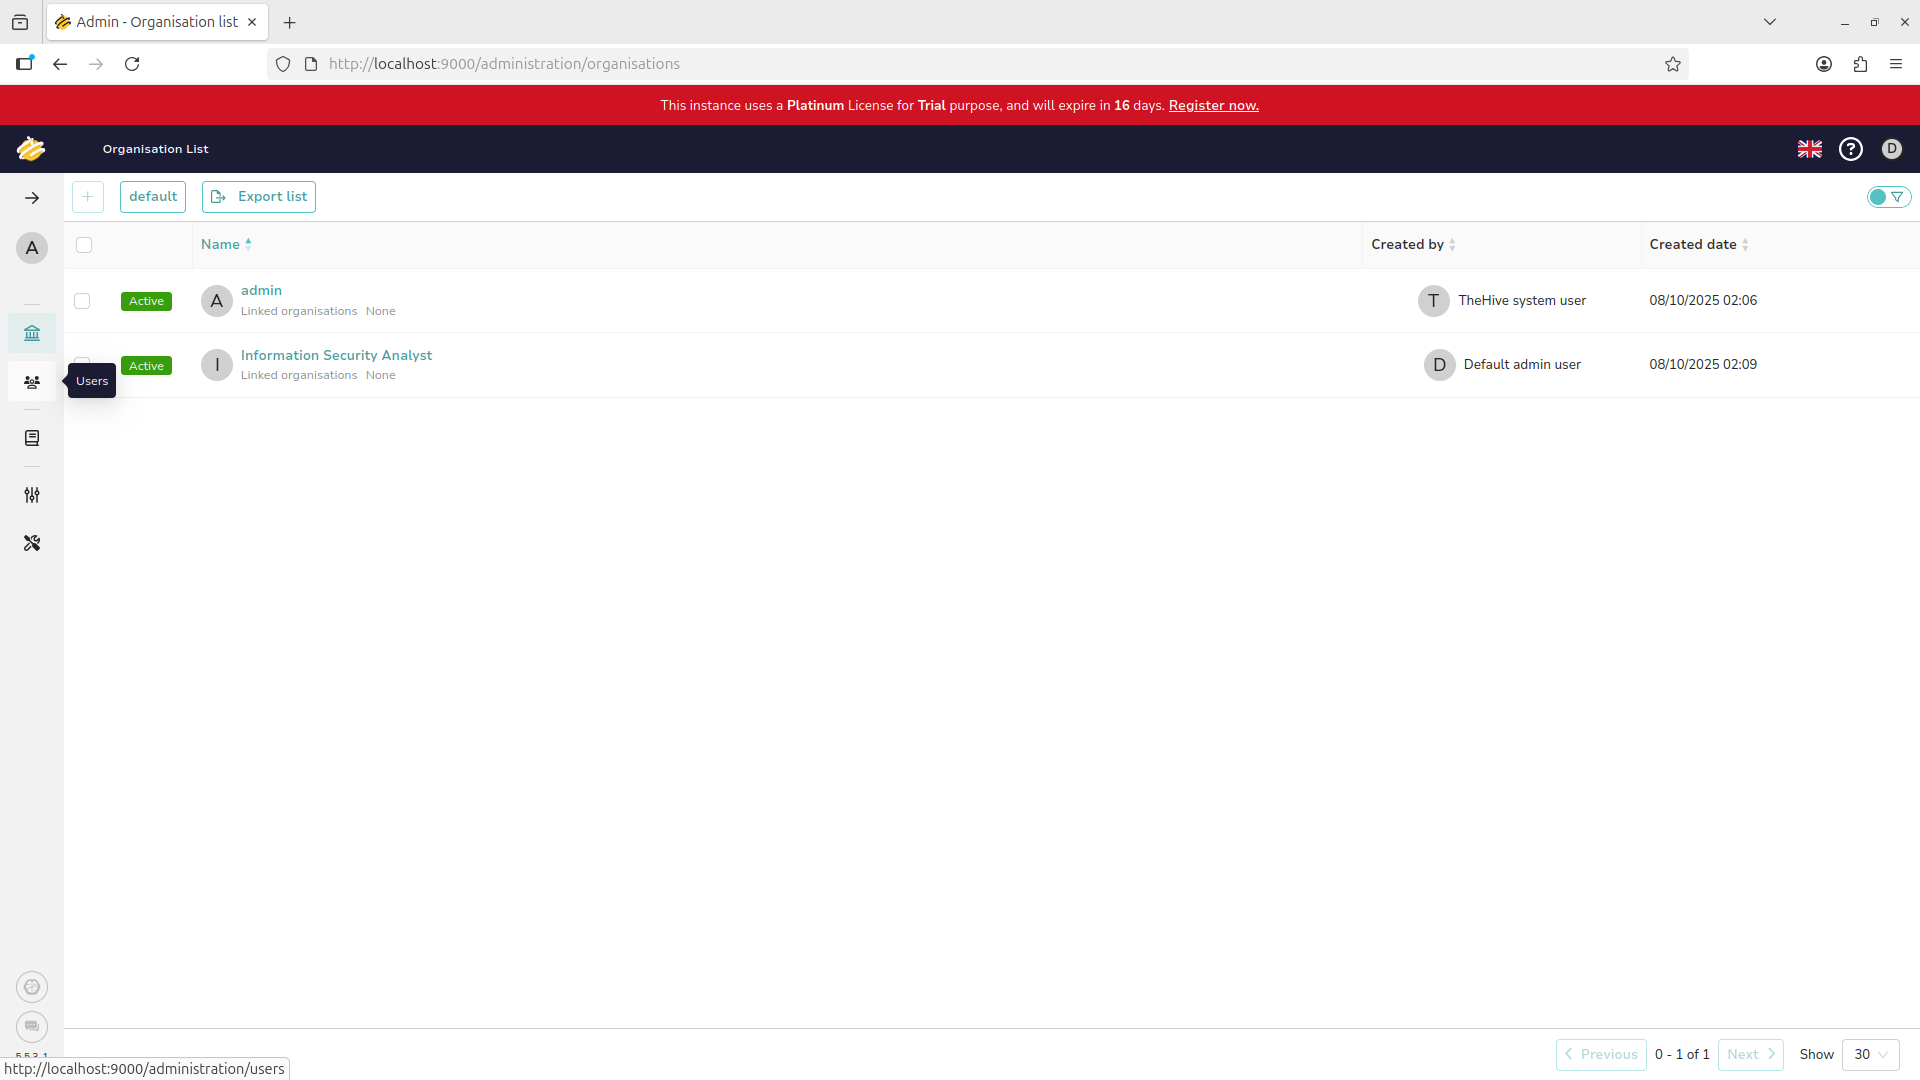
We start on the organizations page, this is where user types are grouped together based on privileges
Use the plus icon at the top left to create a new organizational role:

Fill out the information provided to create and Information Security Analyst role for the organization:
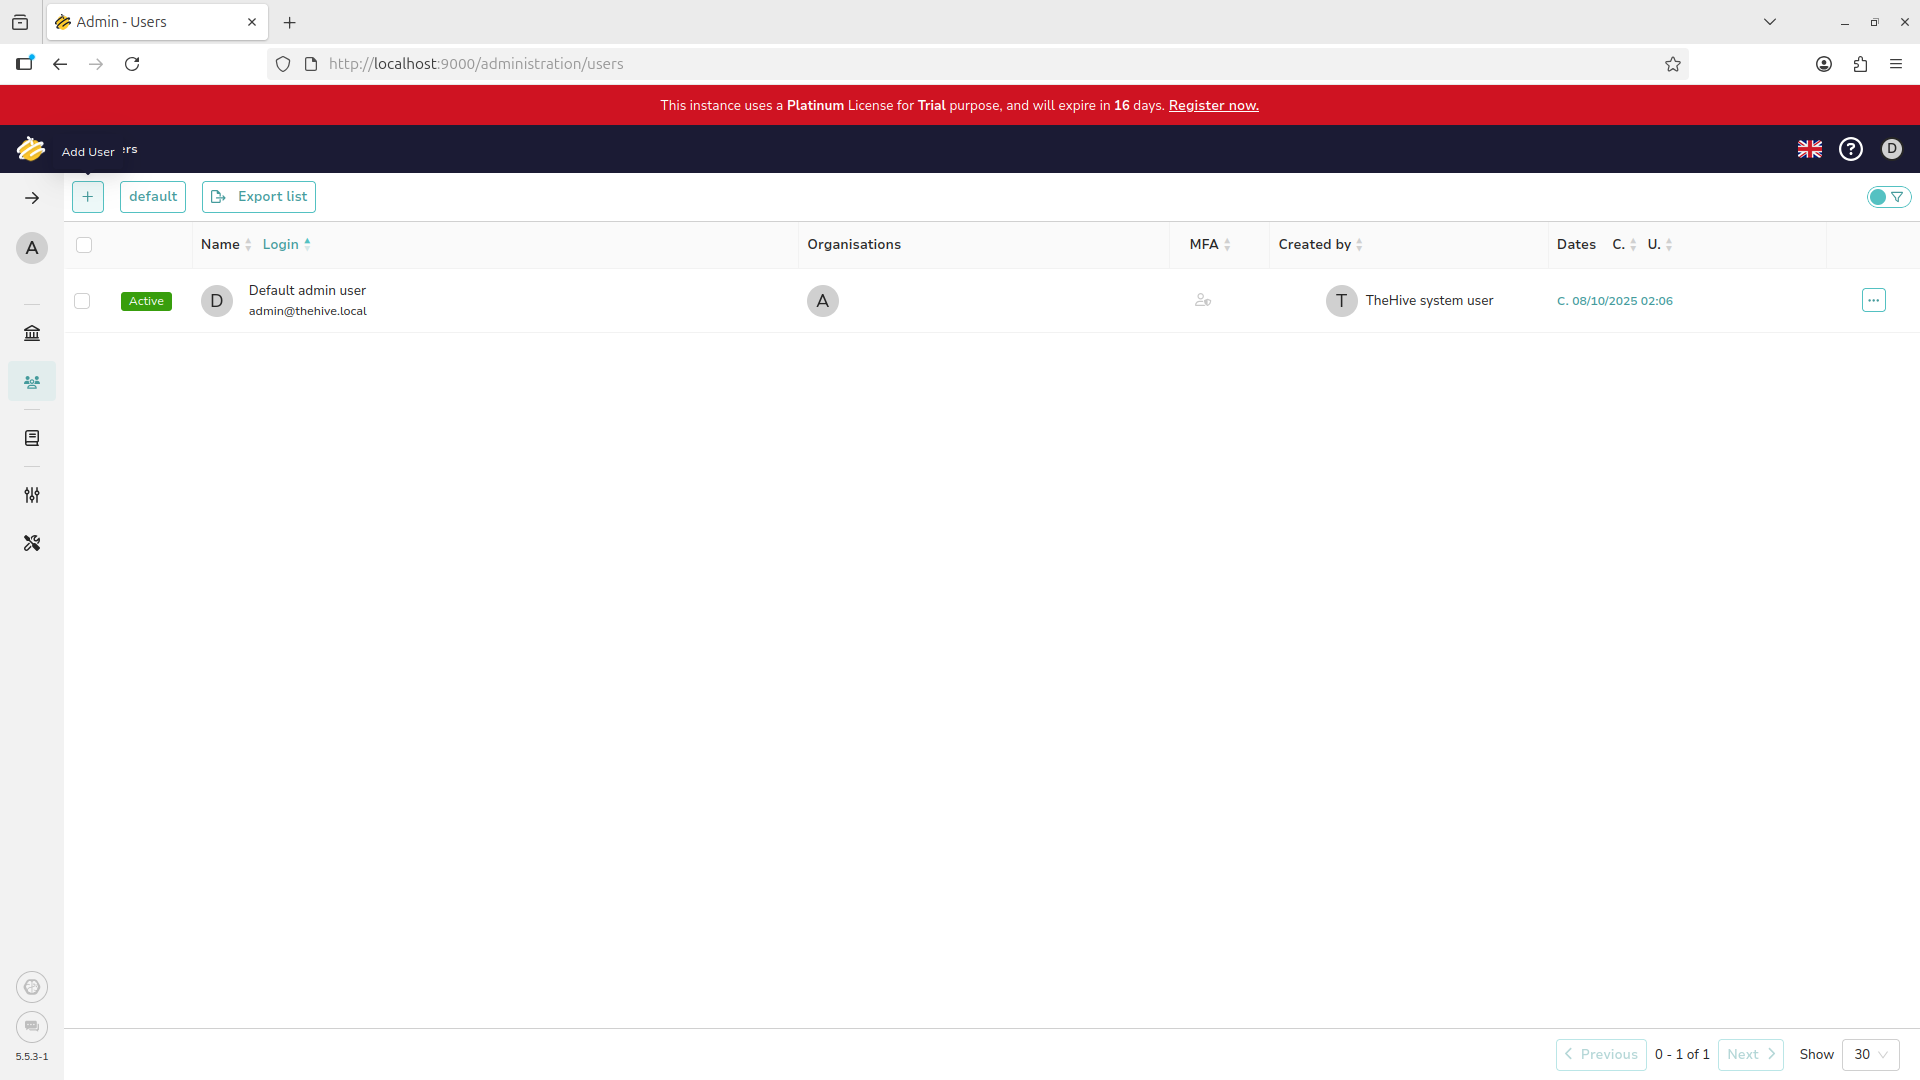
You should see our new role displayed, use the panel on the left of the screen to enter the users menu:
Same as before, use the plus icon at the top left of the screen to add a new user to the organization:
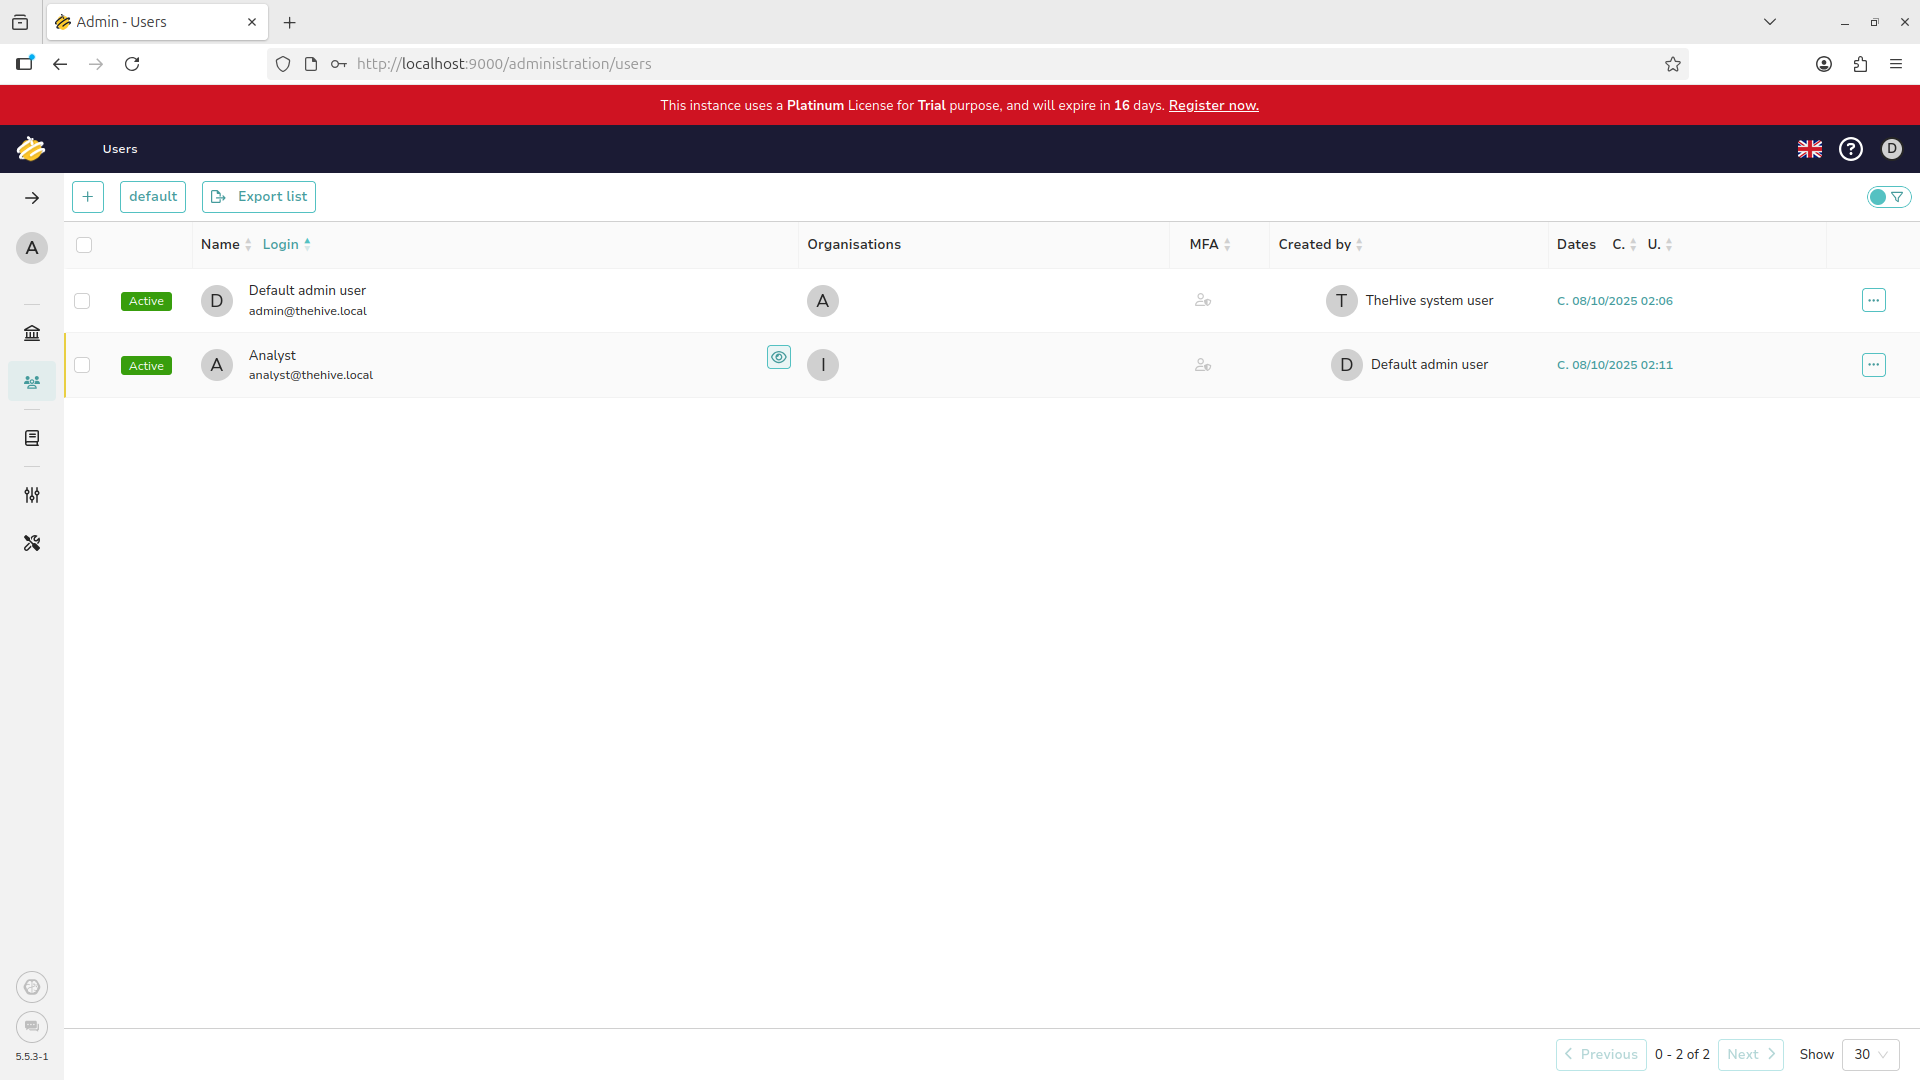
Fill out the new user as provided and use the dropdown menu to set their privilege level to analyst:

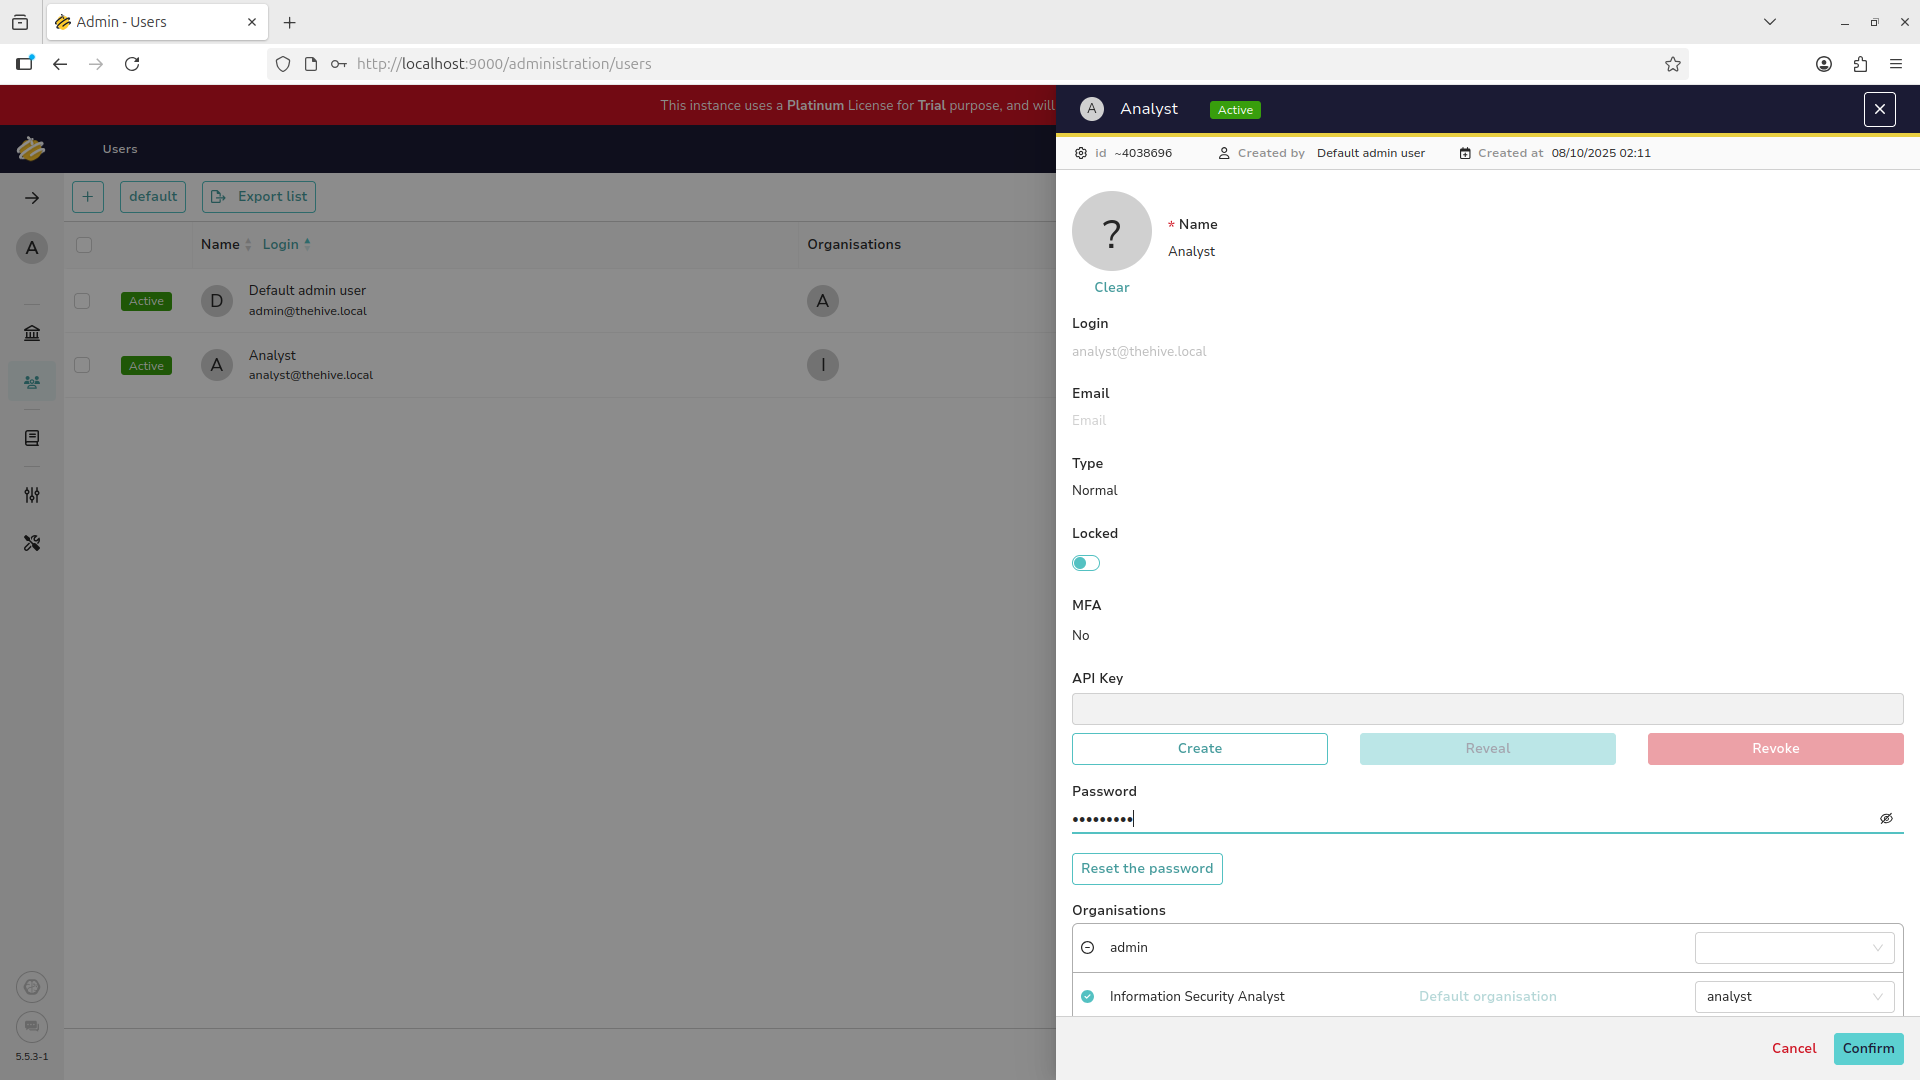
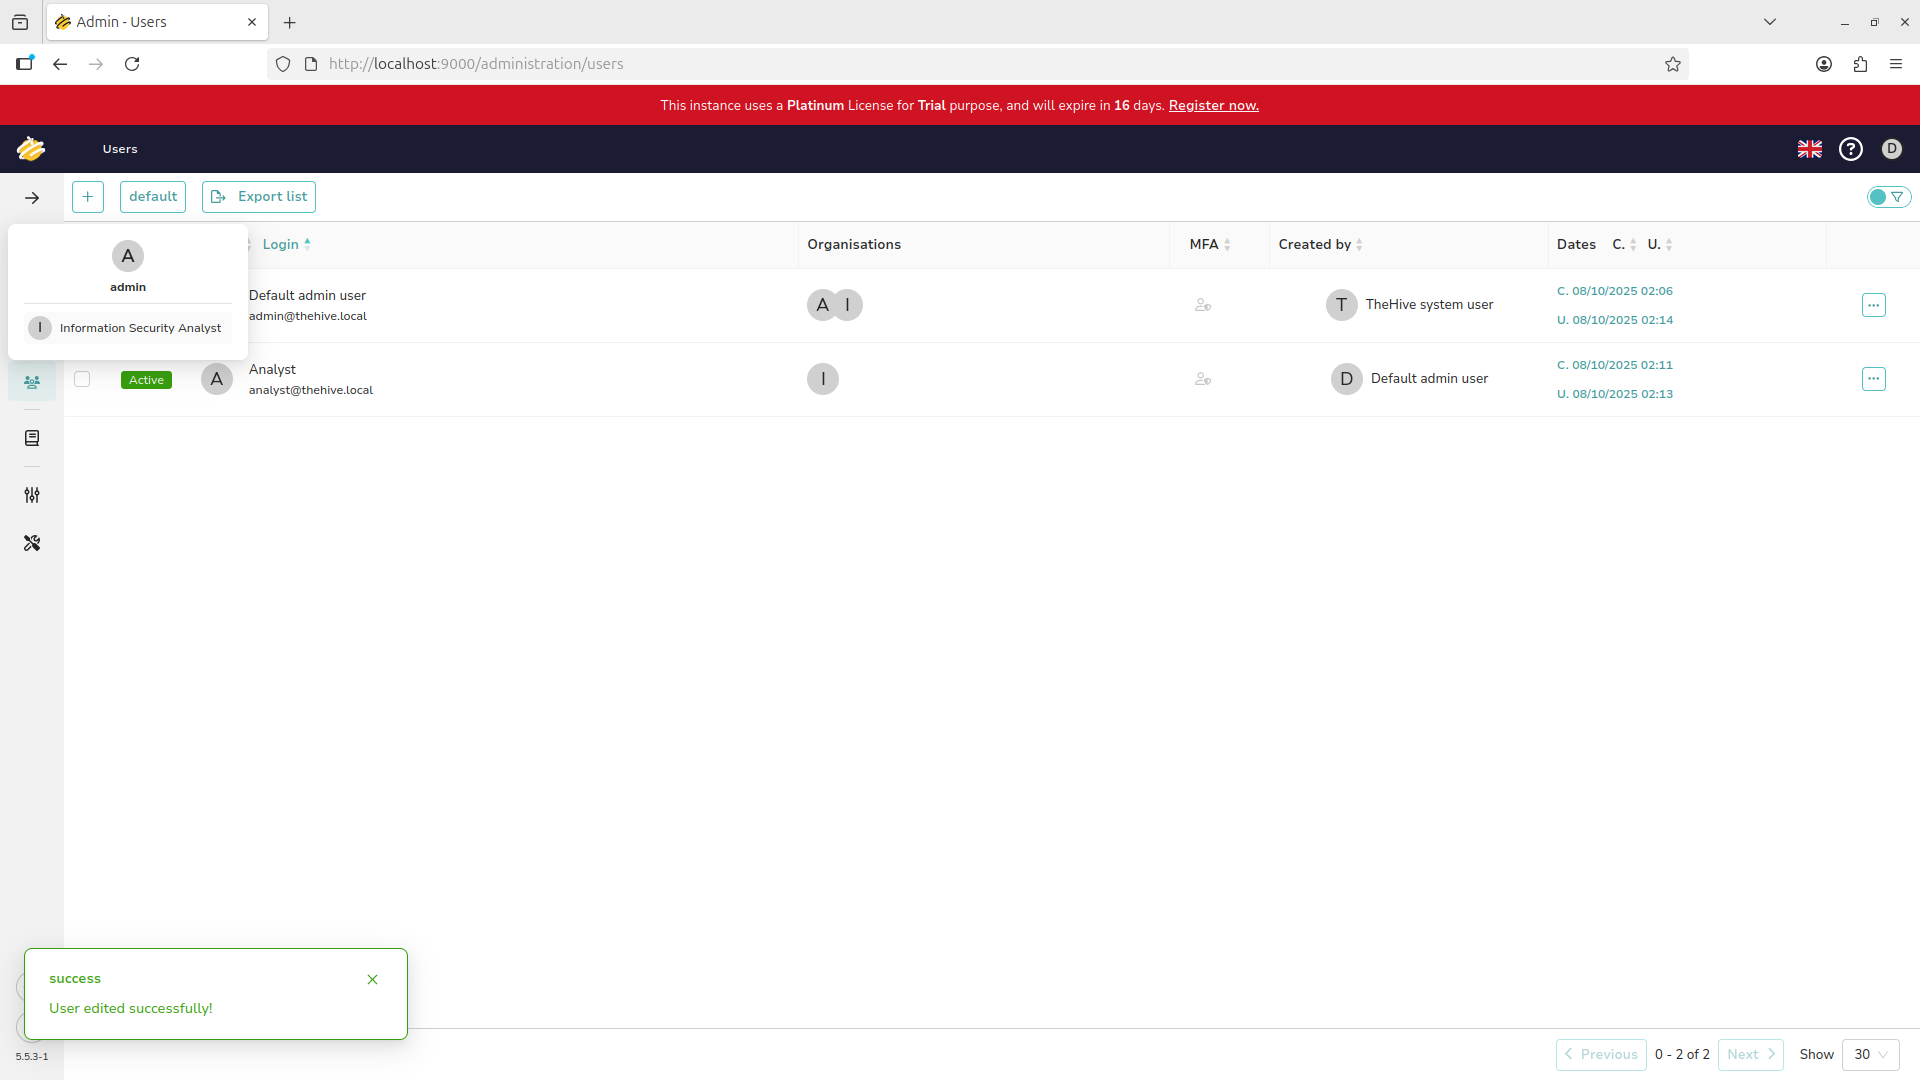
Hit confirm and your new user should be displayed. Hover over the Analyst line and hit the eyeball icon:
You cannot log into a user account if they do not have a password set, click set password and confirm:
In order for the admin account to create tickets and re-assign them we need to grant analyst privileges
Hover over the admin account and use the eyeball icon to open their profile, add the analyst privileges:
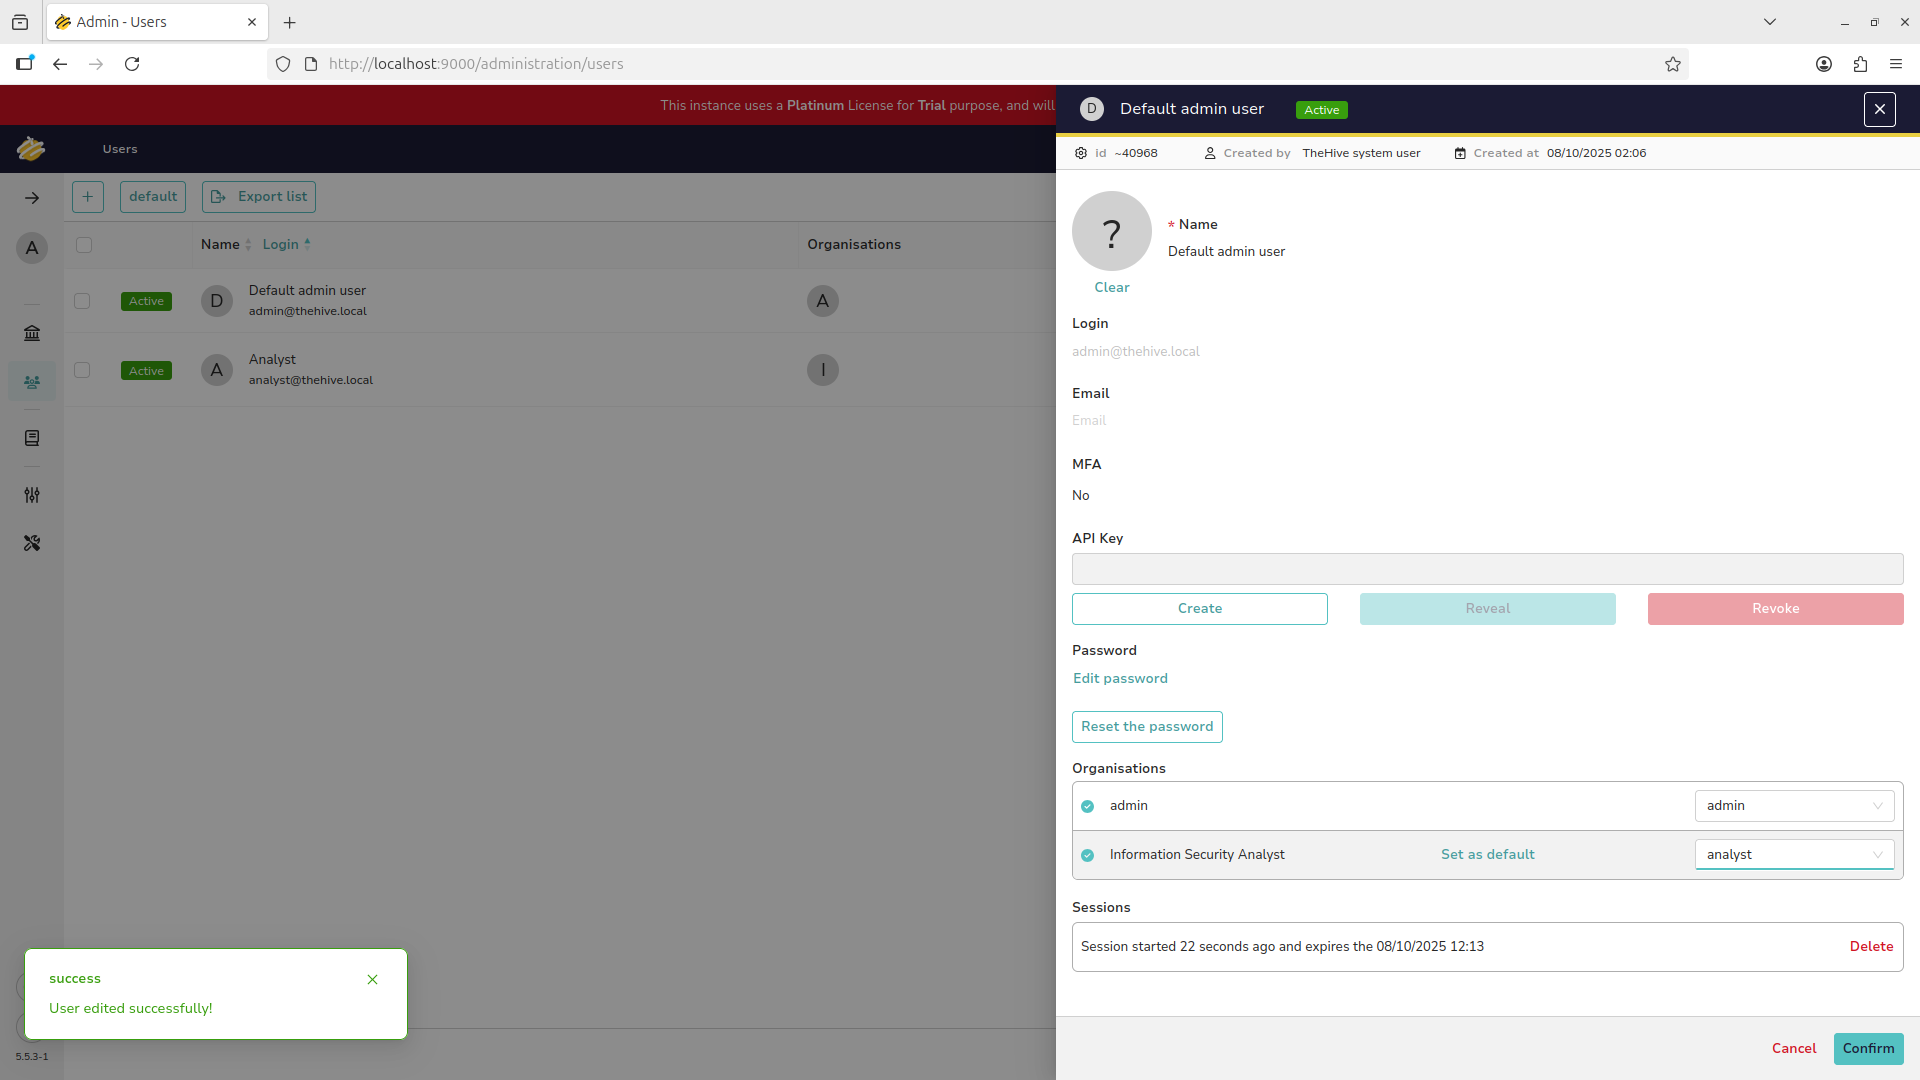
We now have a basic user and privileges setup to begin creating and assigning tickets for analyst review
In the next steps, we will create and explore a new security ticket to understand its primary components
4. Creating and Reassigning Cases
One of the most common tasks in a security operations environment is creation of new security tickets
Each ticket functions similarly to an entry on a to-do list and can be created for a variety of reasons
The admin account now functions as both an administrator and an analyst, we need to switch account types
Hit the A at the top left of the screen to switch from an administrator to an analyst account type:
We are now presented with the Analyst view of the platform, this is what Information Security Analysts see:
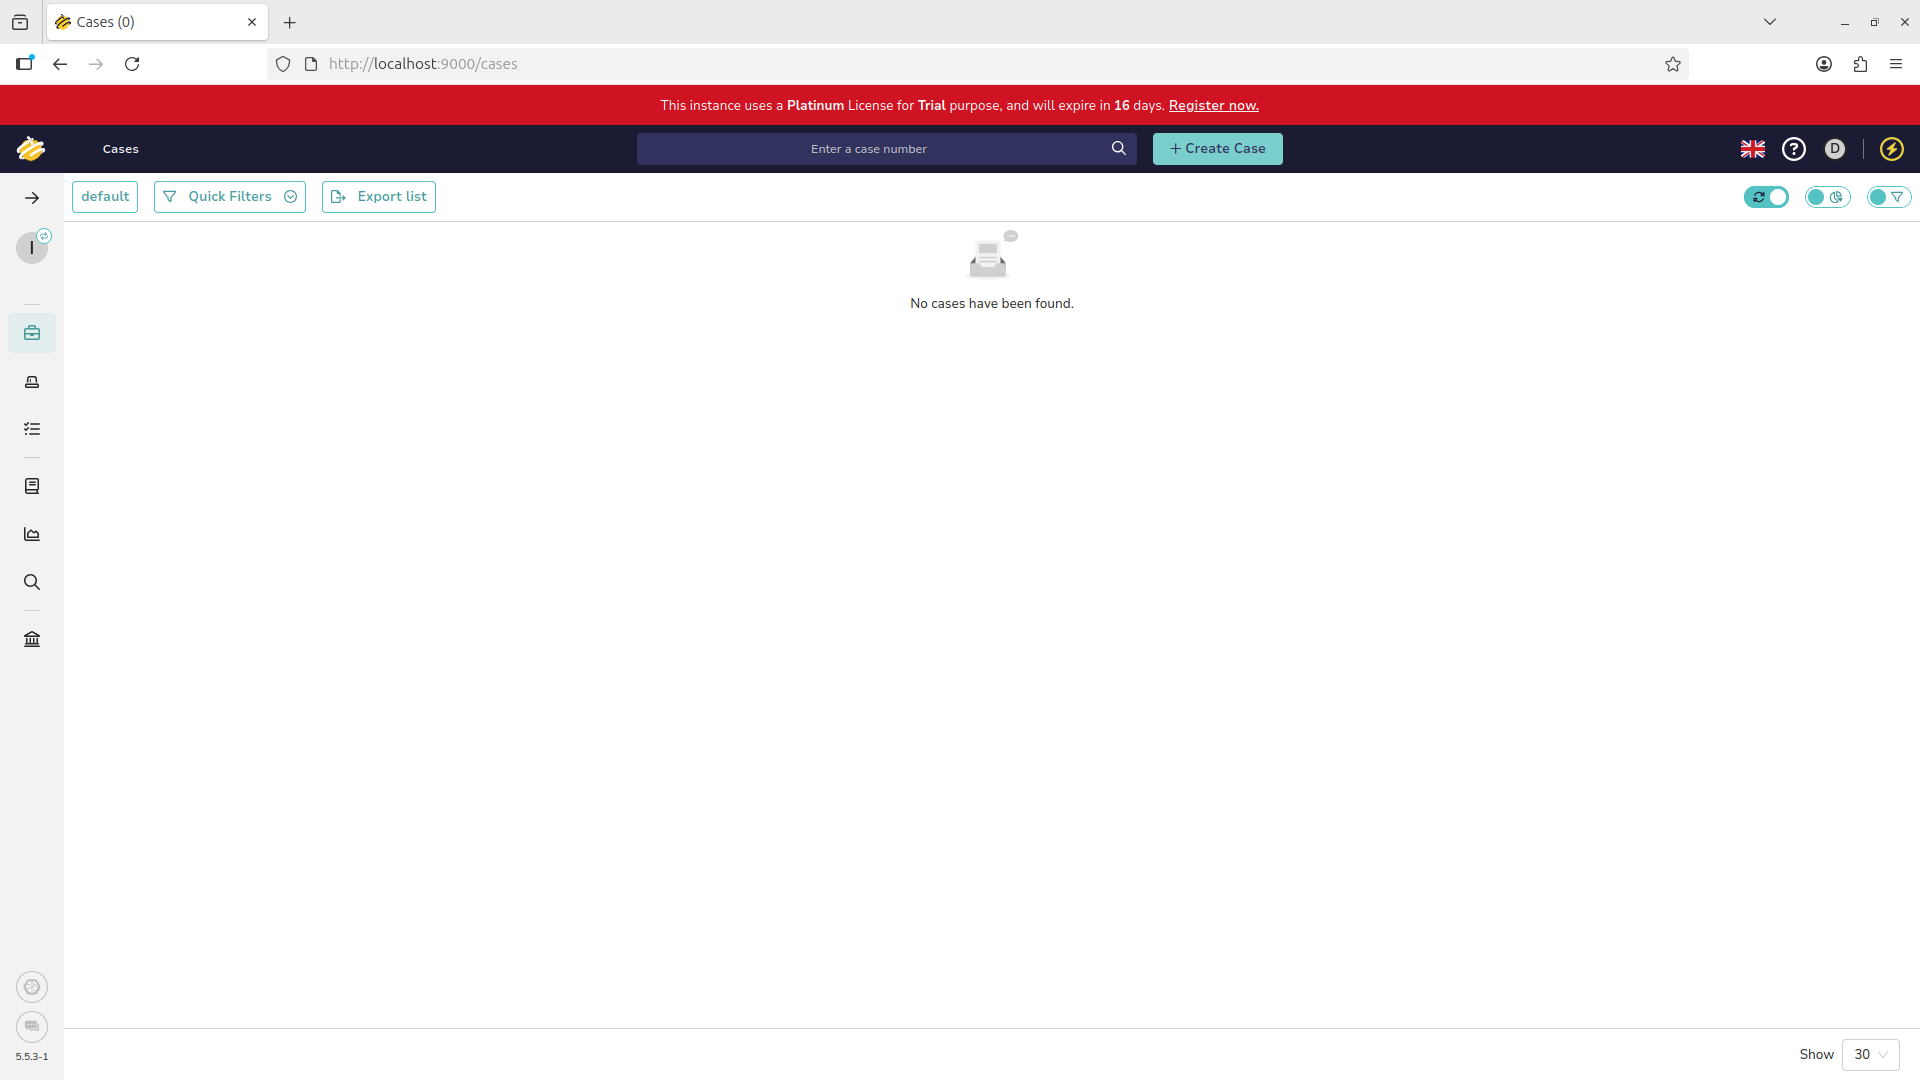
Hit the create case button at the top and select the Empty Case option, fill out with the information below:
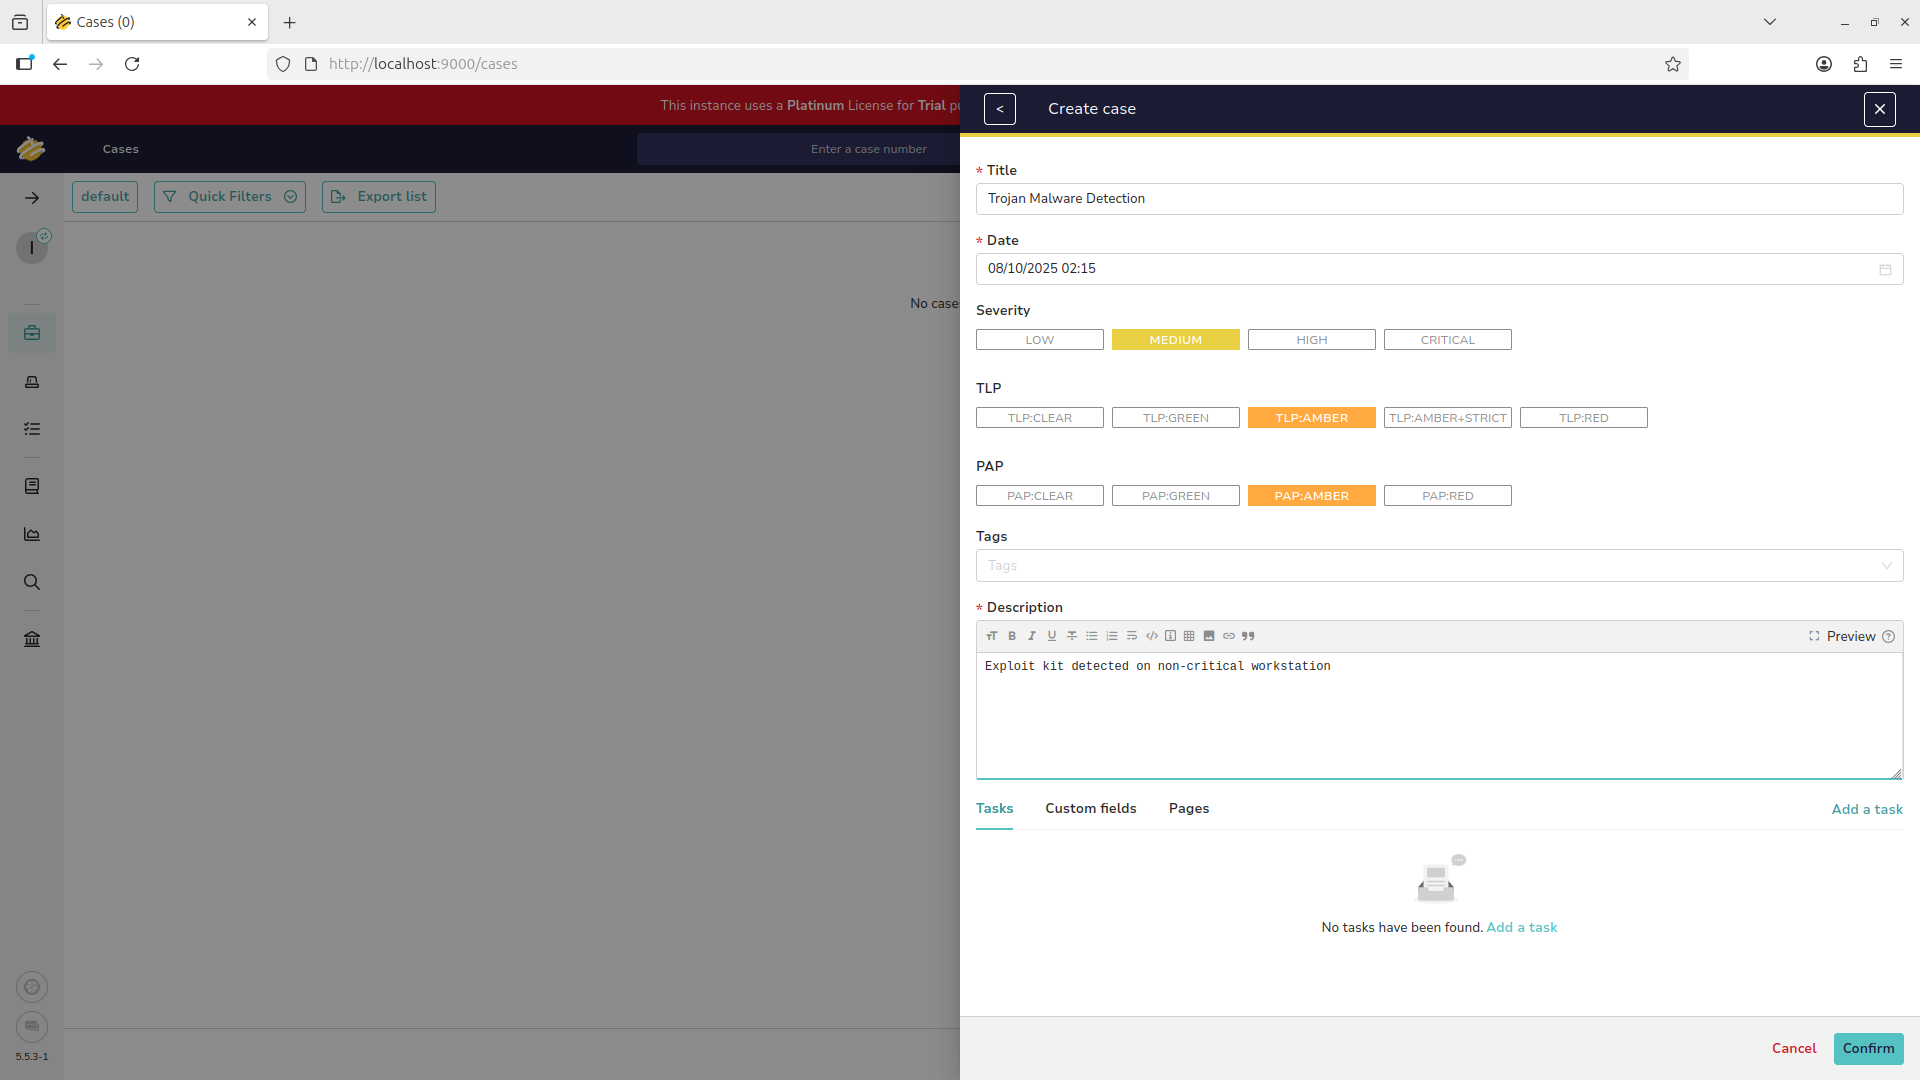
Add a task at the bottom for the analyst to complete, Fill out the information for the analyst to research:
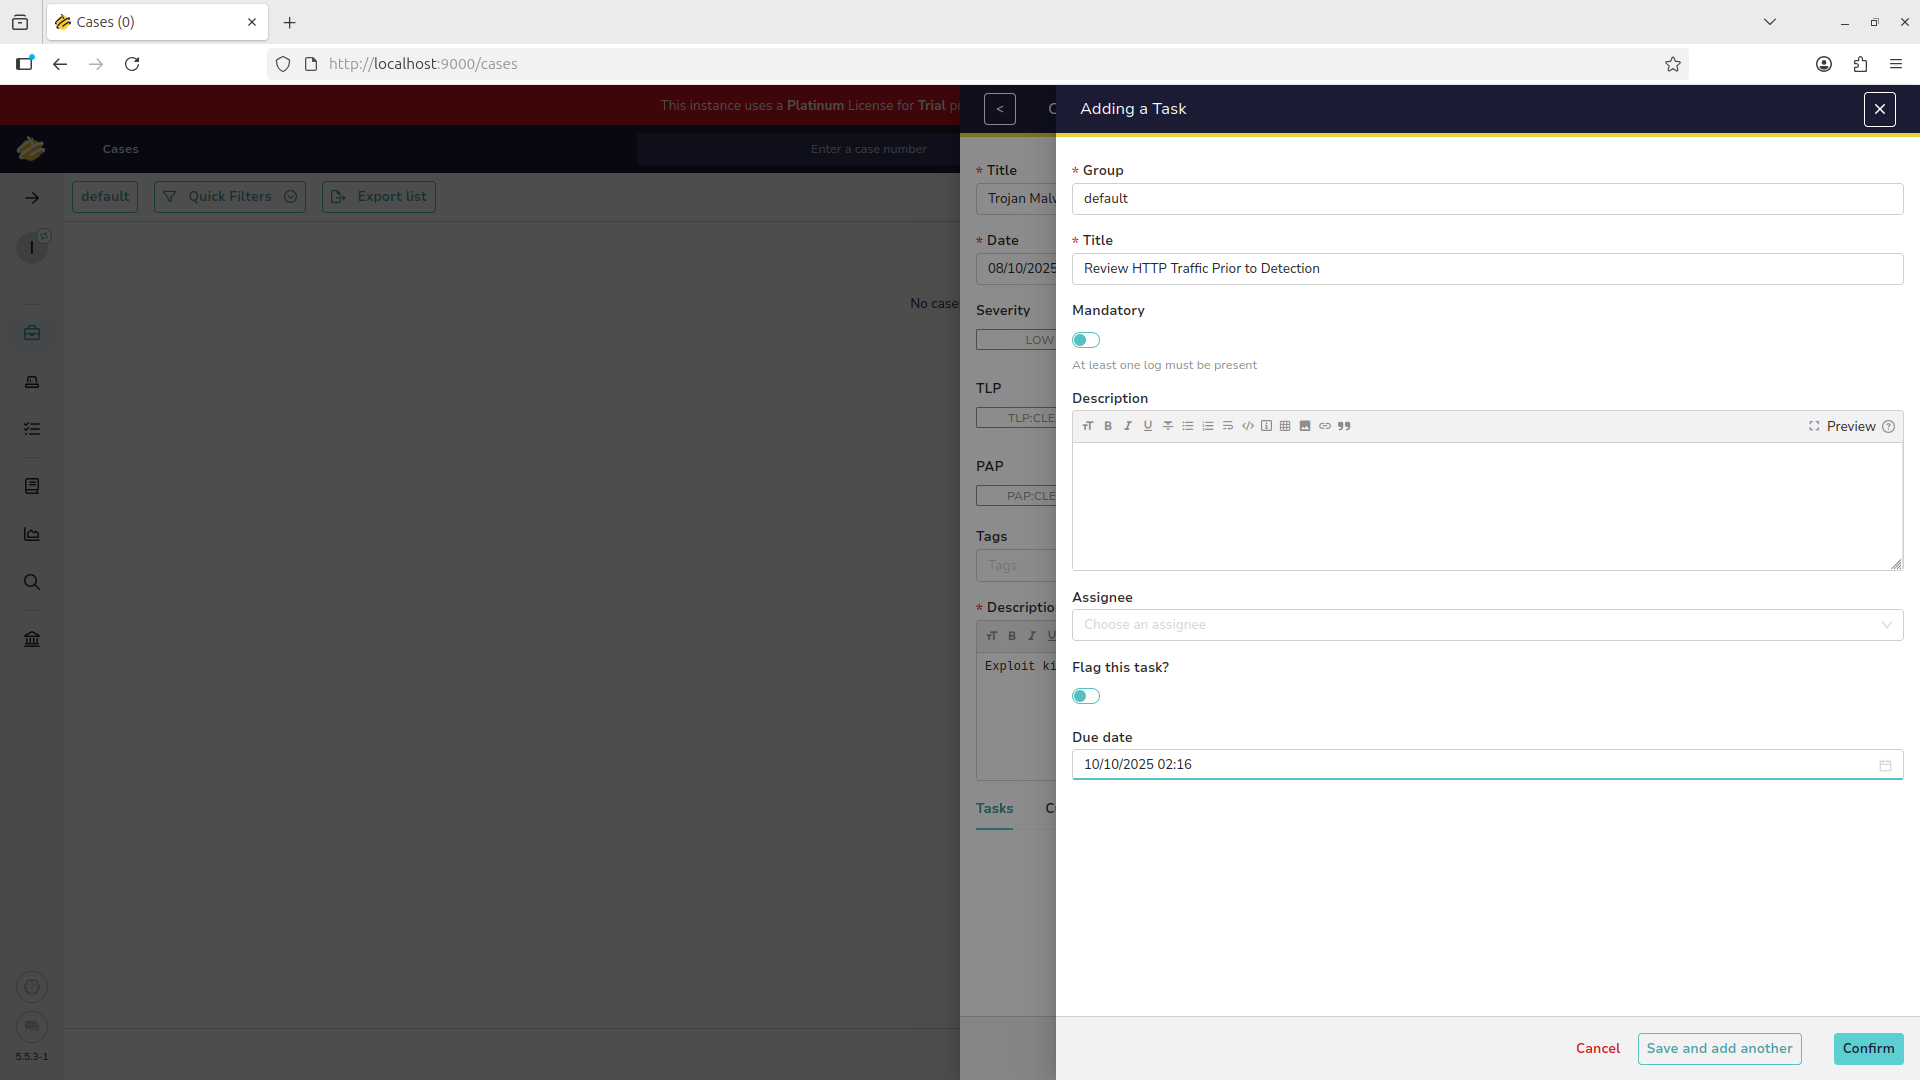
This gives us a view of the components of a security ticket including tasks, metadata, and the assignee
We will now explore a workflow that is very common in security operations leadership, assigning cases
Ticket reassignment is common in any security environment as cases often need transferred to a specialist
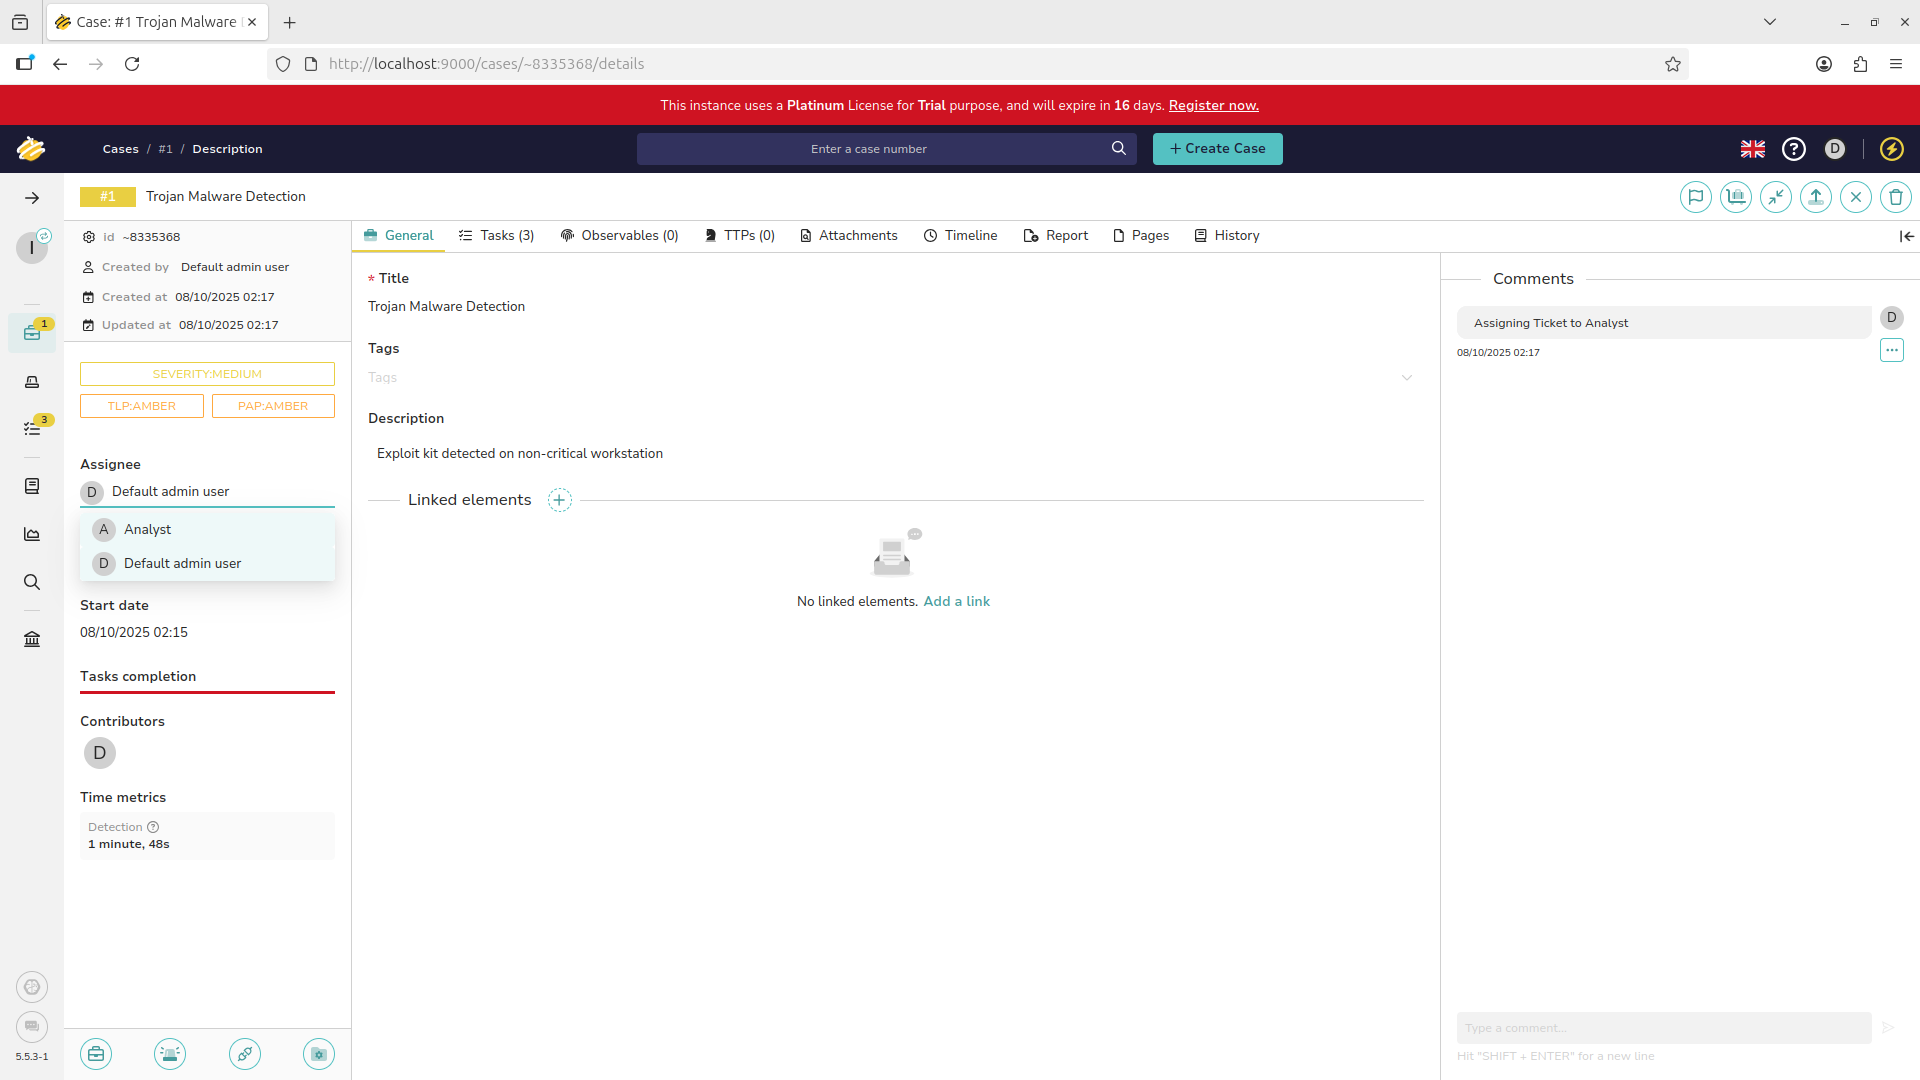
We are now shown the active case and all the data associated. Hit Assignee to assign this to our Analyst:
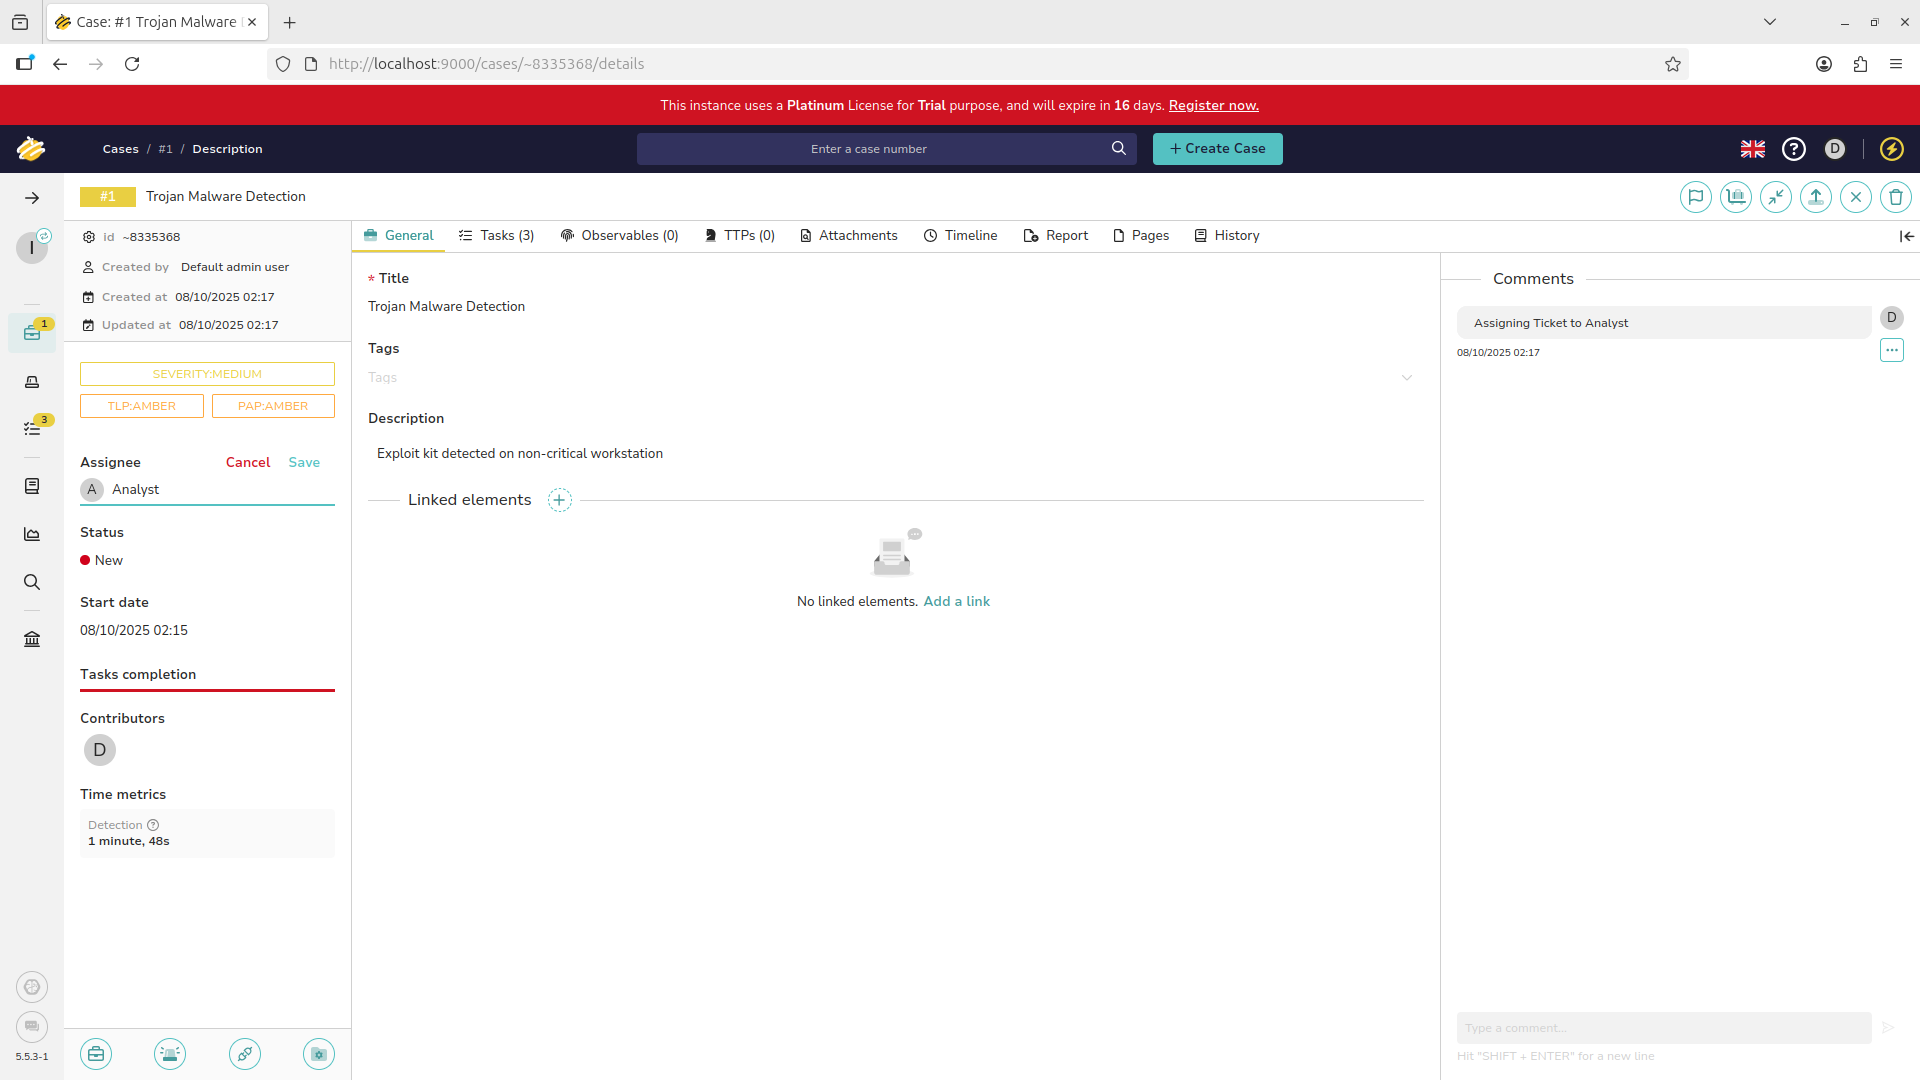
Nice work, make sure to hit save for the changes to take effect. Our analyst has now been assigned this case
You can also add a note on the right hand panel of the screen to document the handoff of the ticket as well
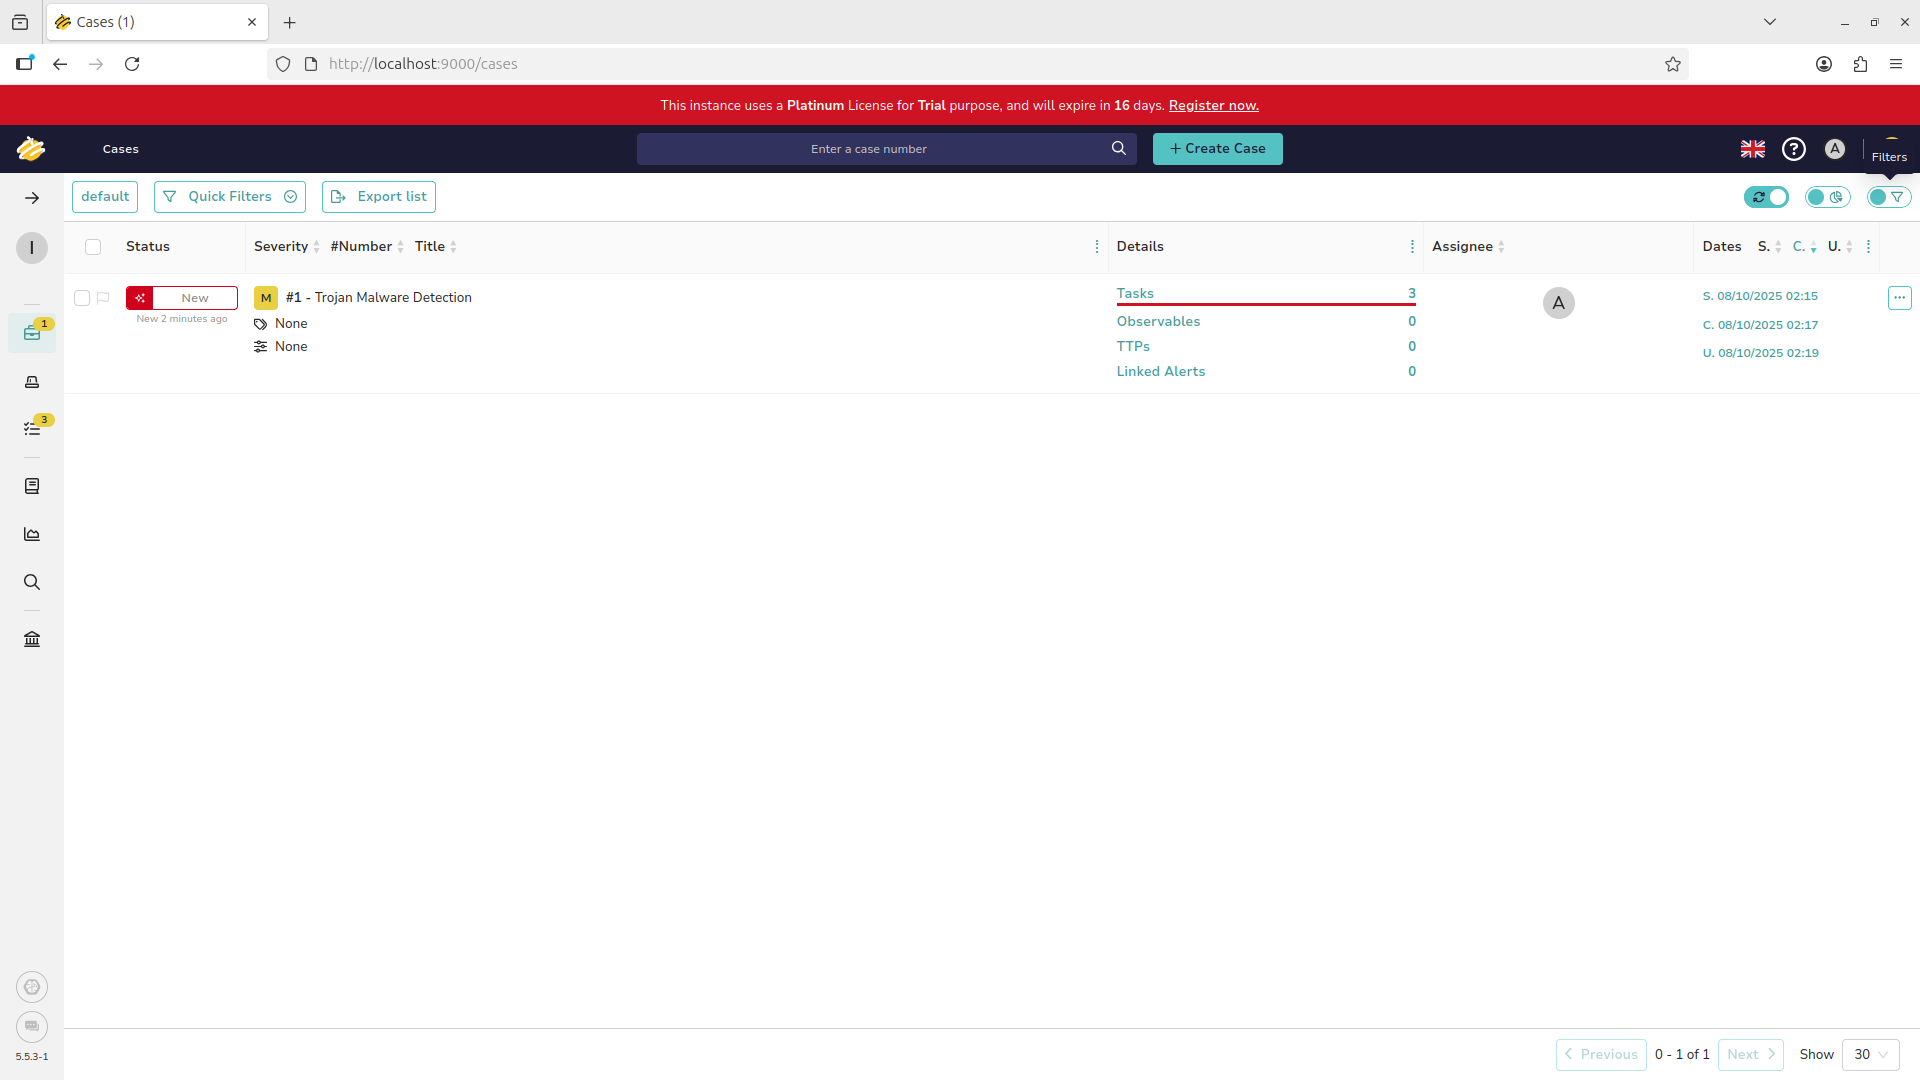
They will receive the notification and the case will appear in their workflow. Click the briefcase icon:
In most ticketing systems a page like this will be your default view, organizing the unworked cases assigned
From here we can prioritize which cases to take on based on due dates, severity and criticality level and age
Often there will be many cases which fill your view. Filter which cases to view with the icon at the top right:
Sorting and filtering can help you identify tickets that fit specific criteria. For example the assignee option:
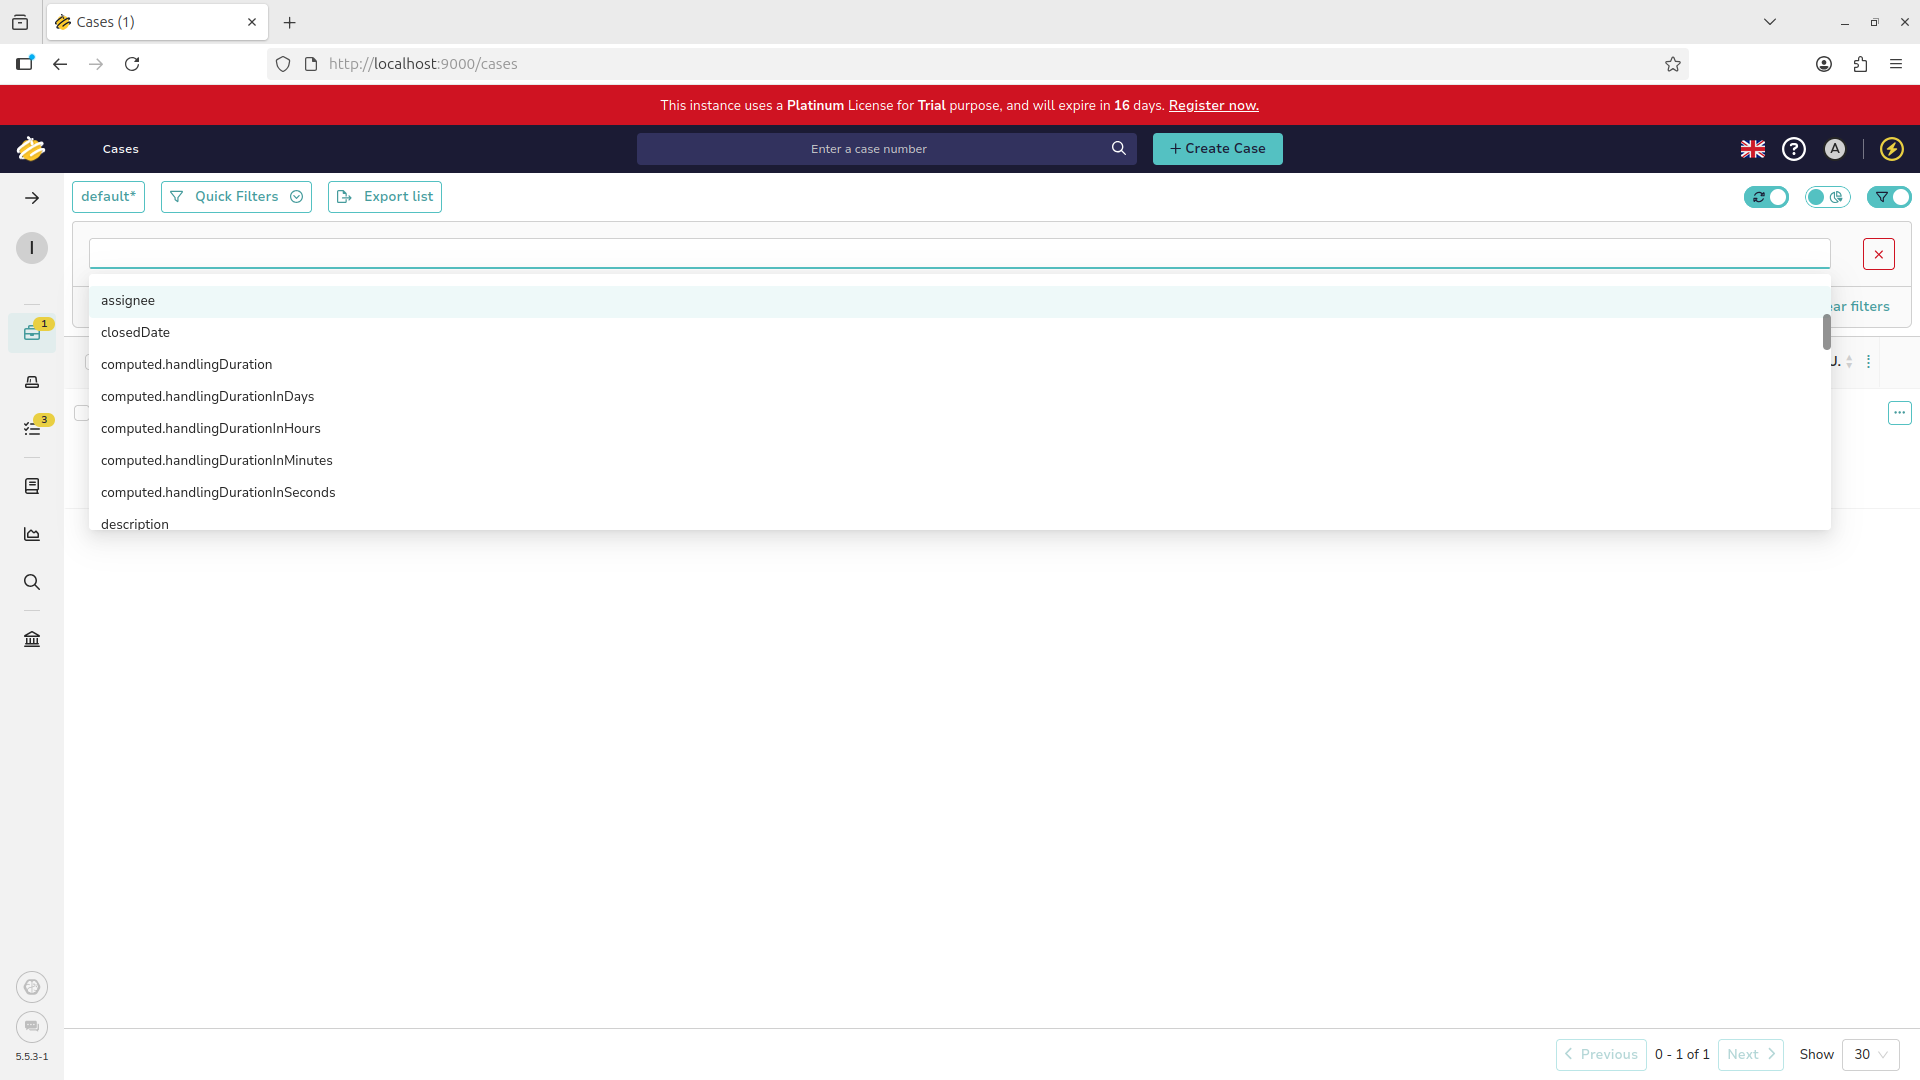
This would be important if a specific Analyst had scheduled time off and the team needed to cover their work
There is a whole slew of options to filter and sort by and this can also help target specific action items
5. Ticket Resolution and Closure
The final stage of every ticket is the completion of the listed action items and resolution of the case
Based on the information discovered in the investigation of the ticket, it may be closed or escalated
Let's perform this action as if we were the analyst assigned to this case. Click the D at the top right
A dropdown menu will appear. Proceed to log out of the admin account and login with analyst@thehive.local:
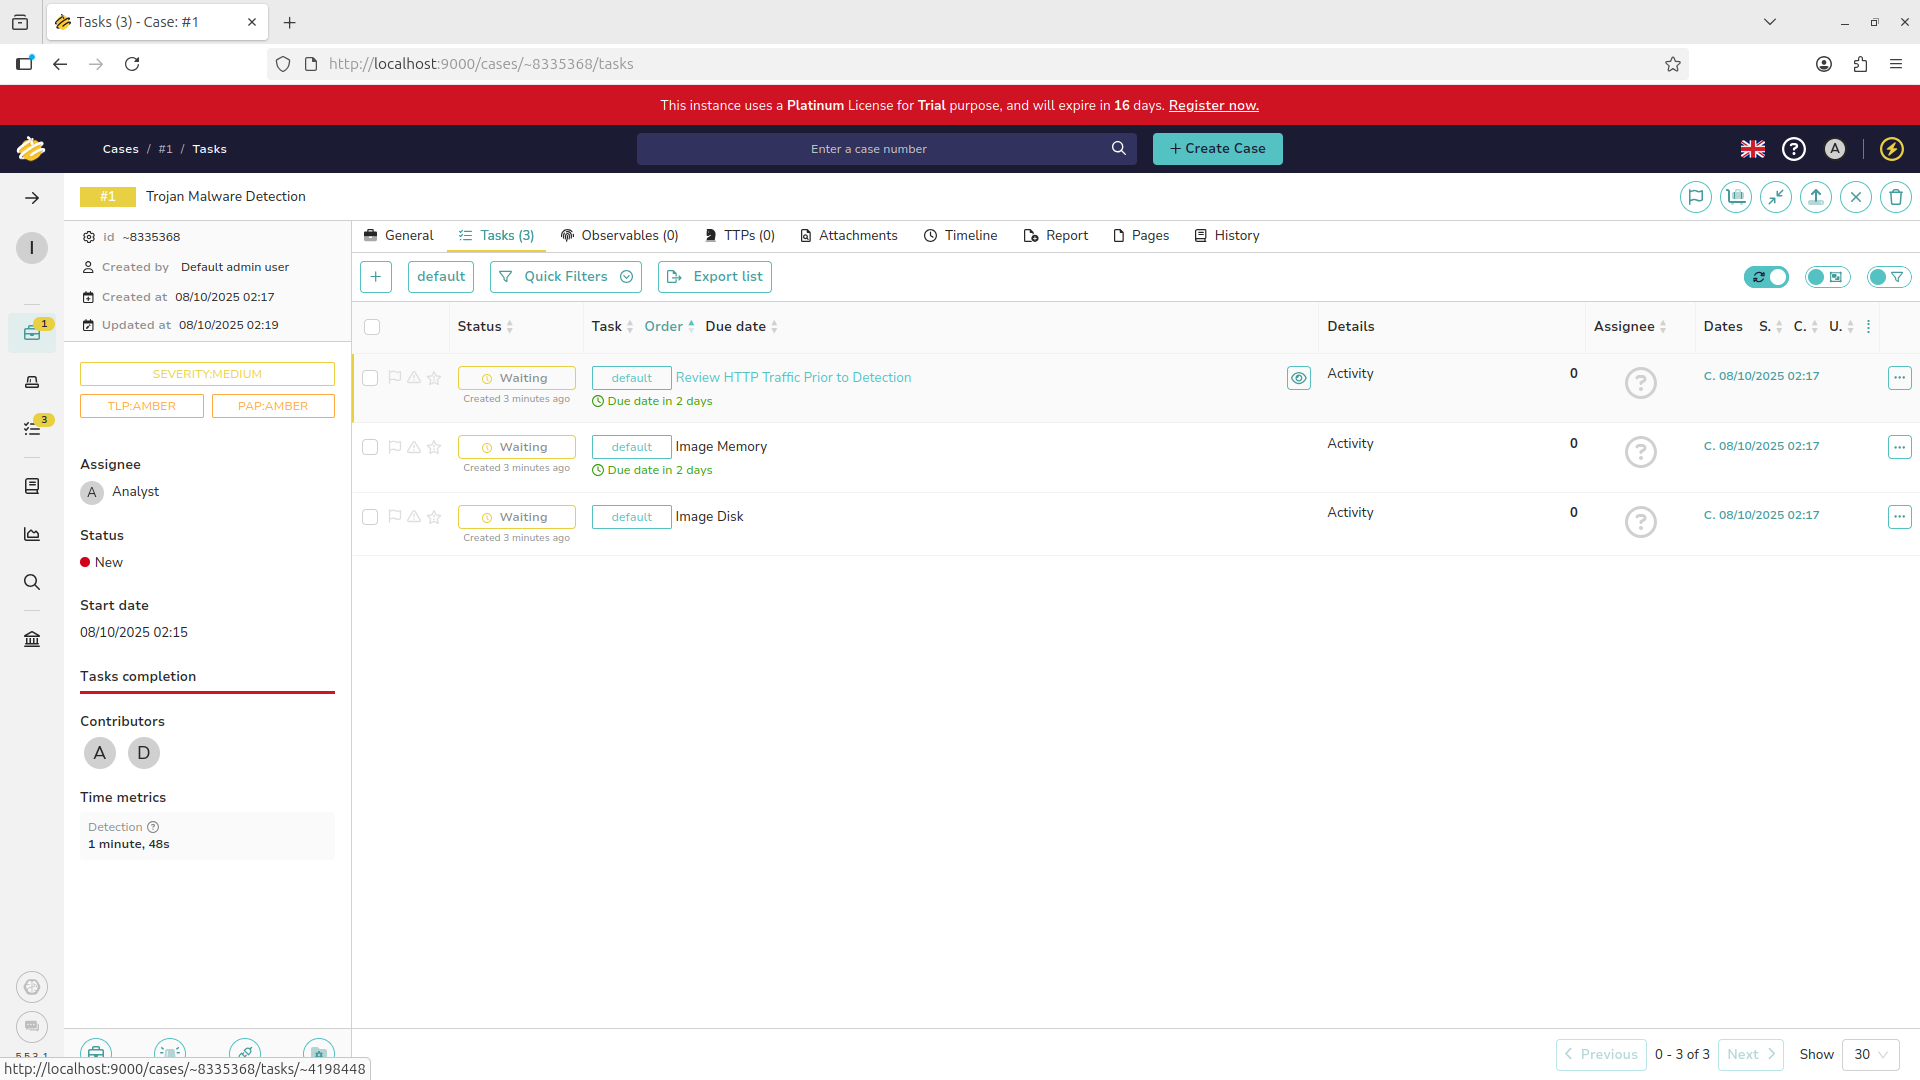
Navigate into our case by clicking the title, then navigate to the assigned tasks with the topmost panel
From here we can begin to complete the assigned tasks, open the task menu by clicking the eyeball icon:
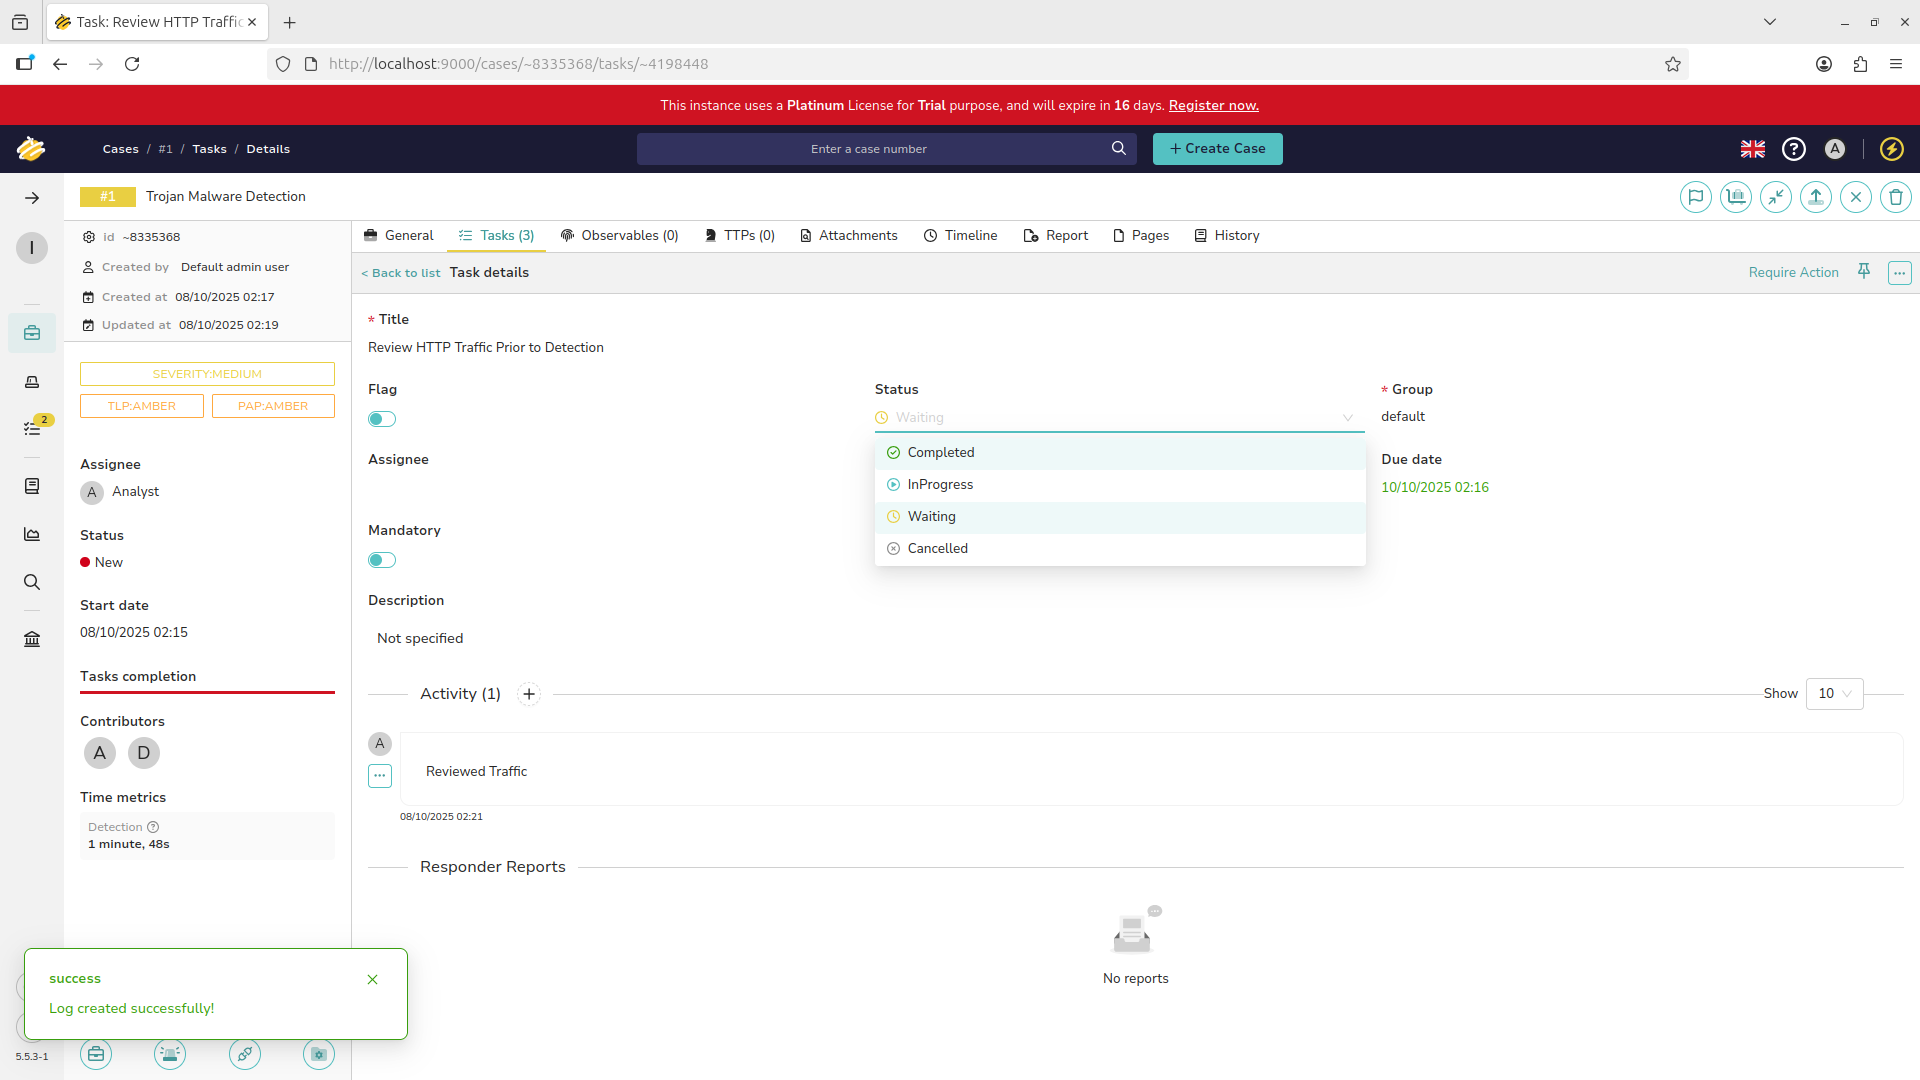
Add a note documenting the steps taken with the plus icon and change the status of the task to completed:
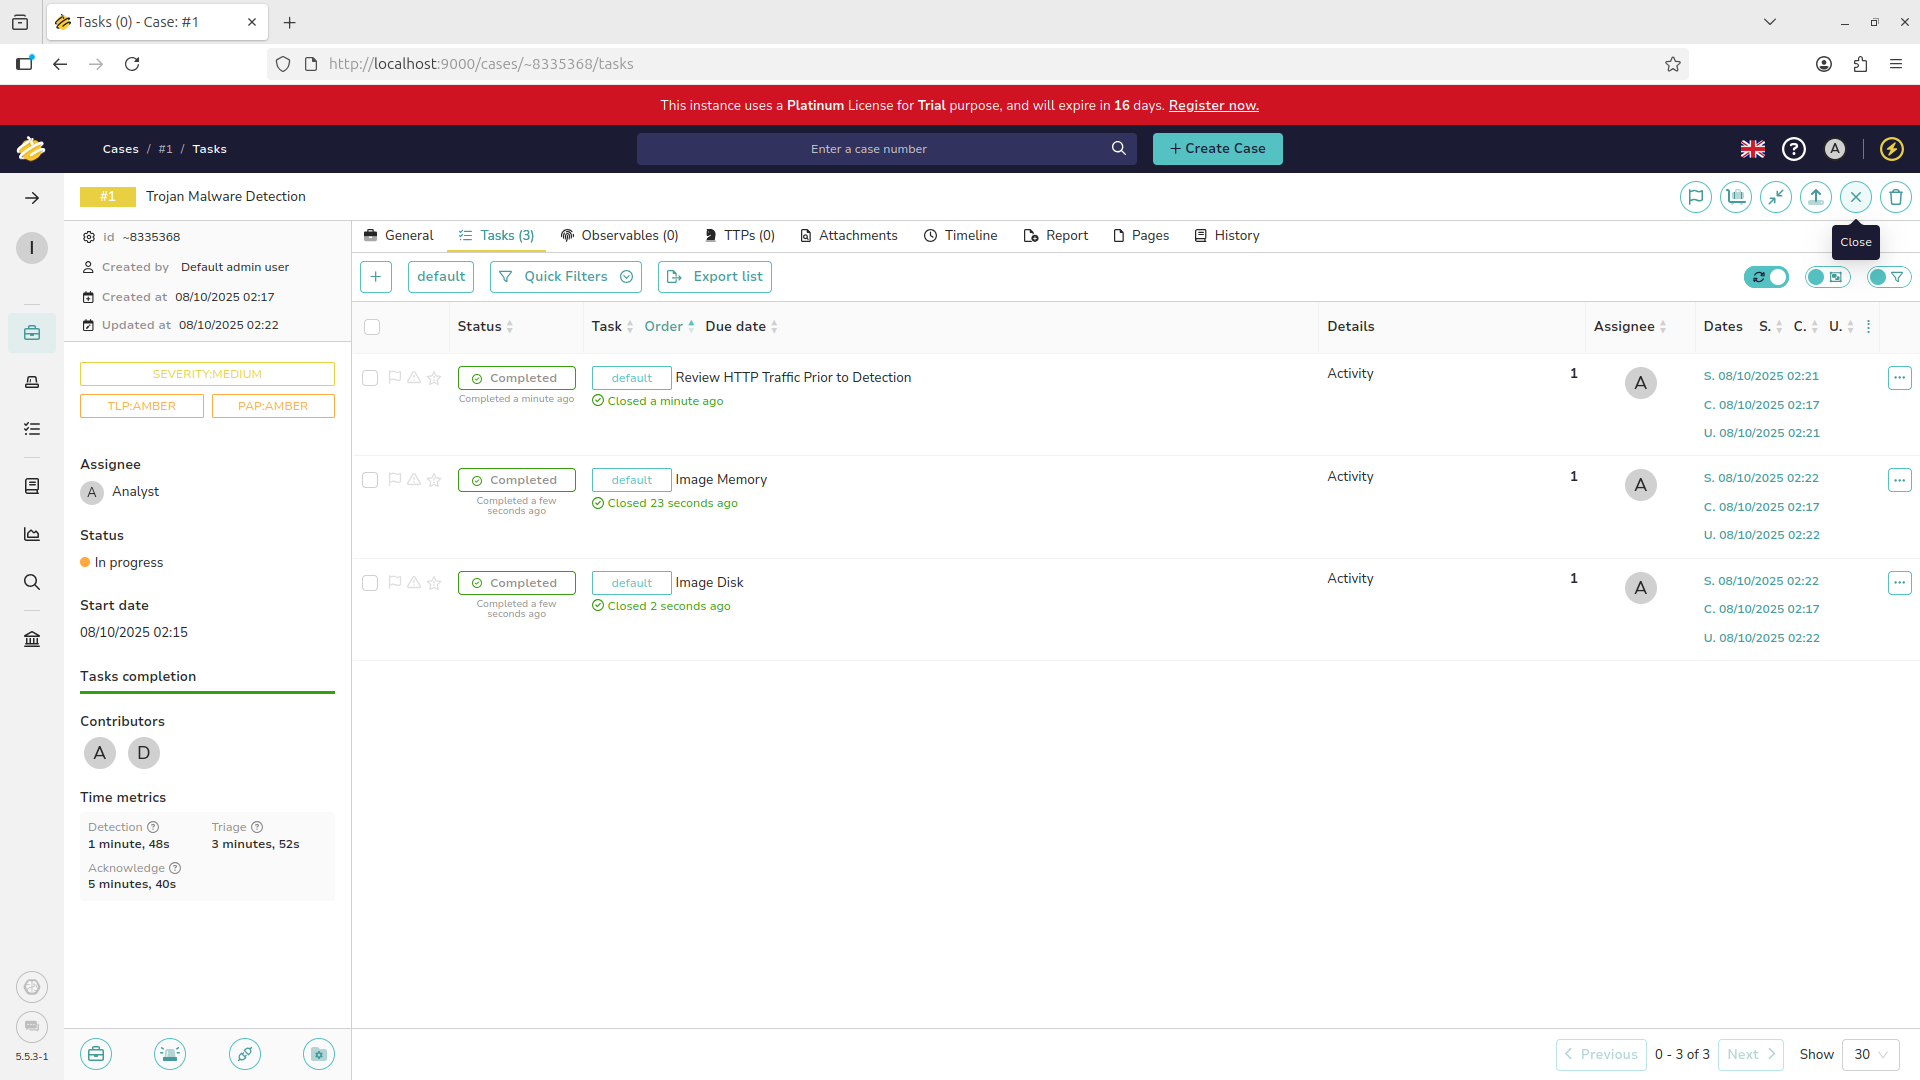
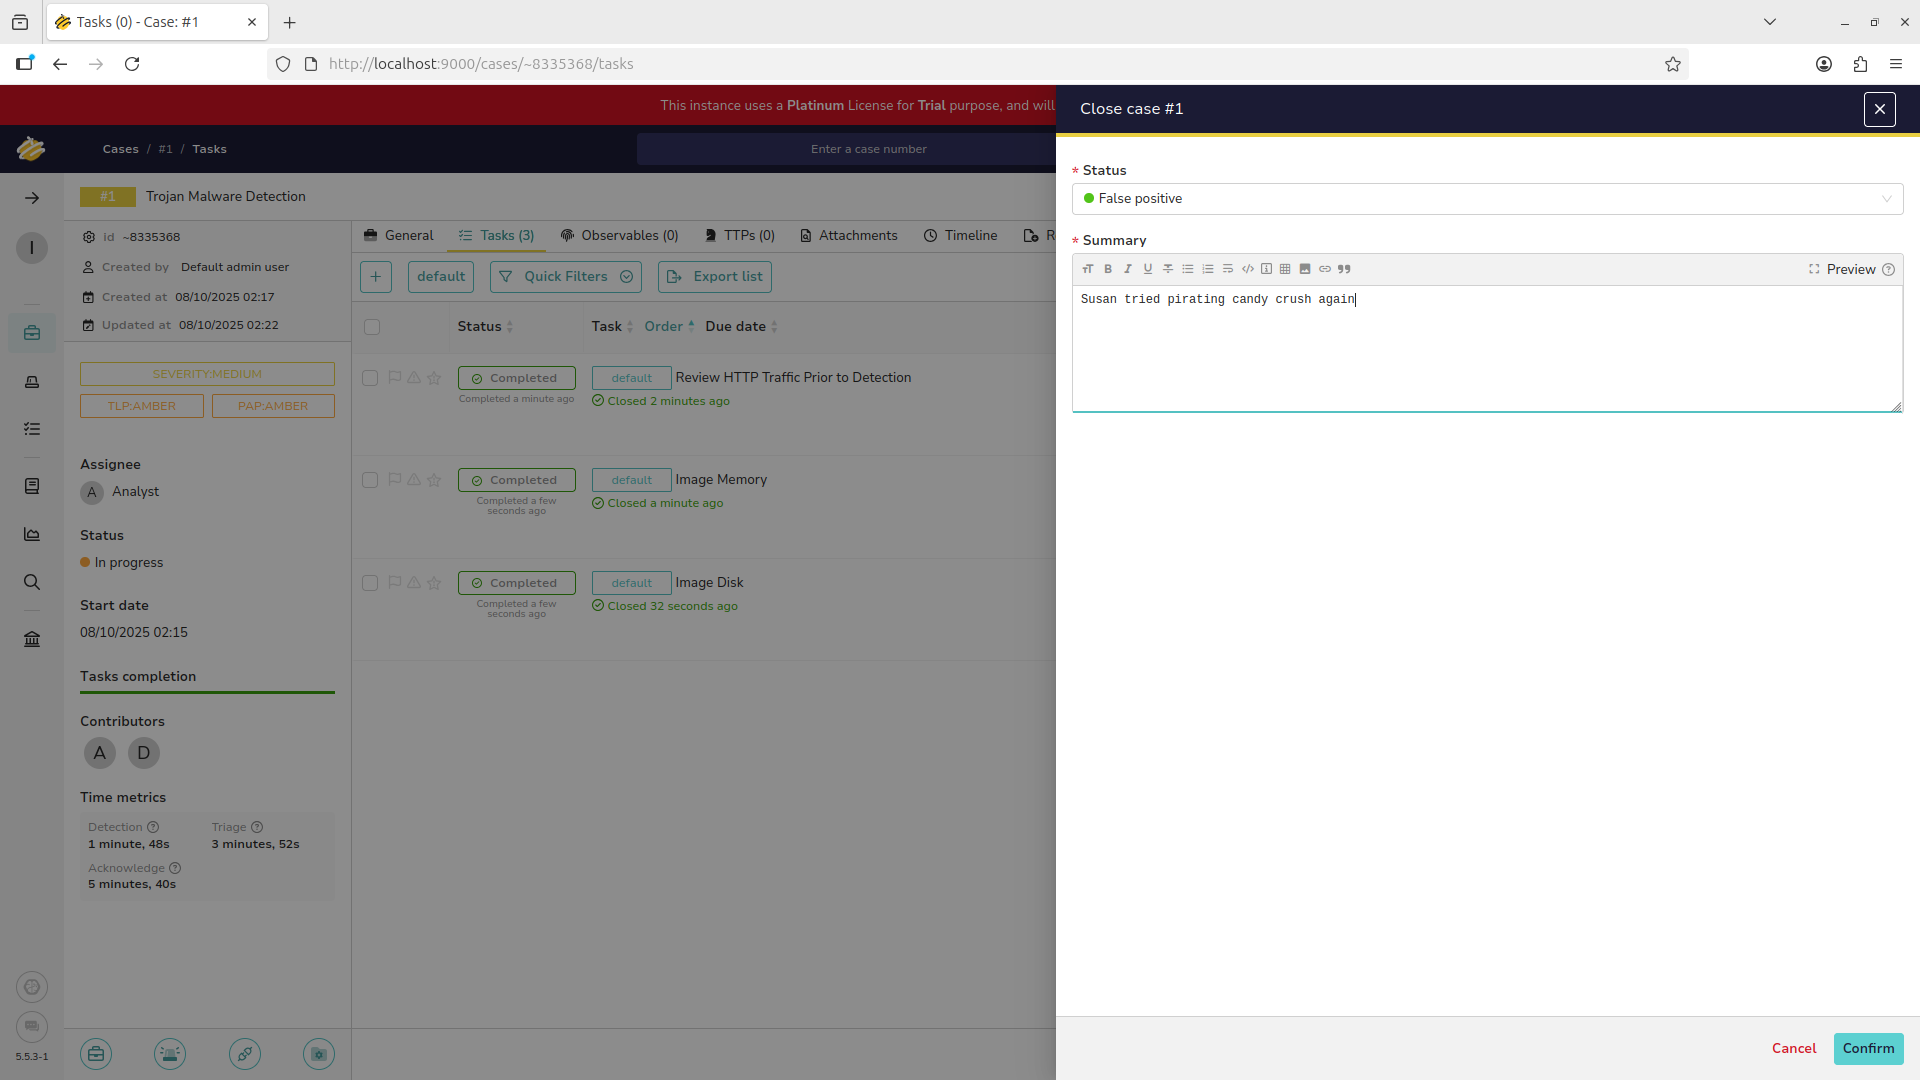
Repeat this process for each of the three assigned tasks. This case is now ready for closure, hit the X:
Add an appropriate status field and description for documentation purposes. Then hit the confirm button:
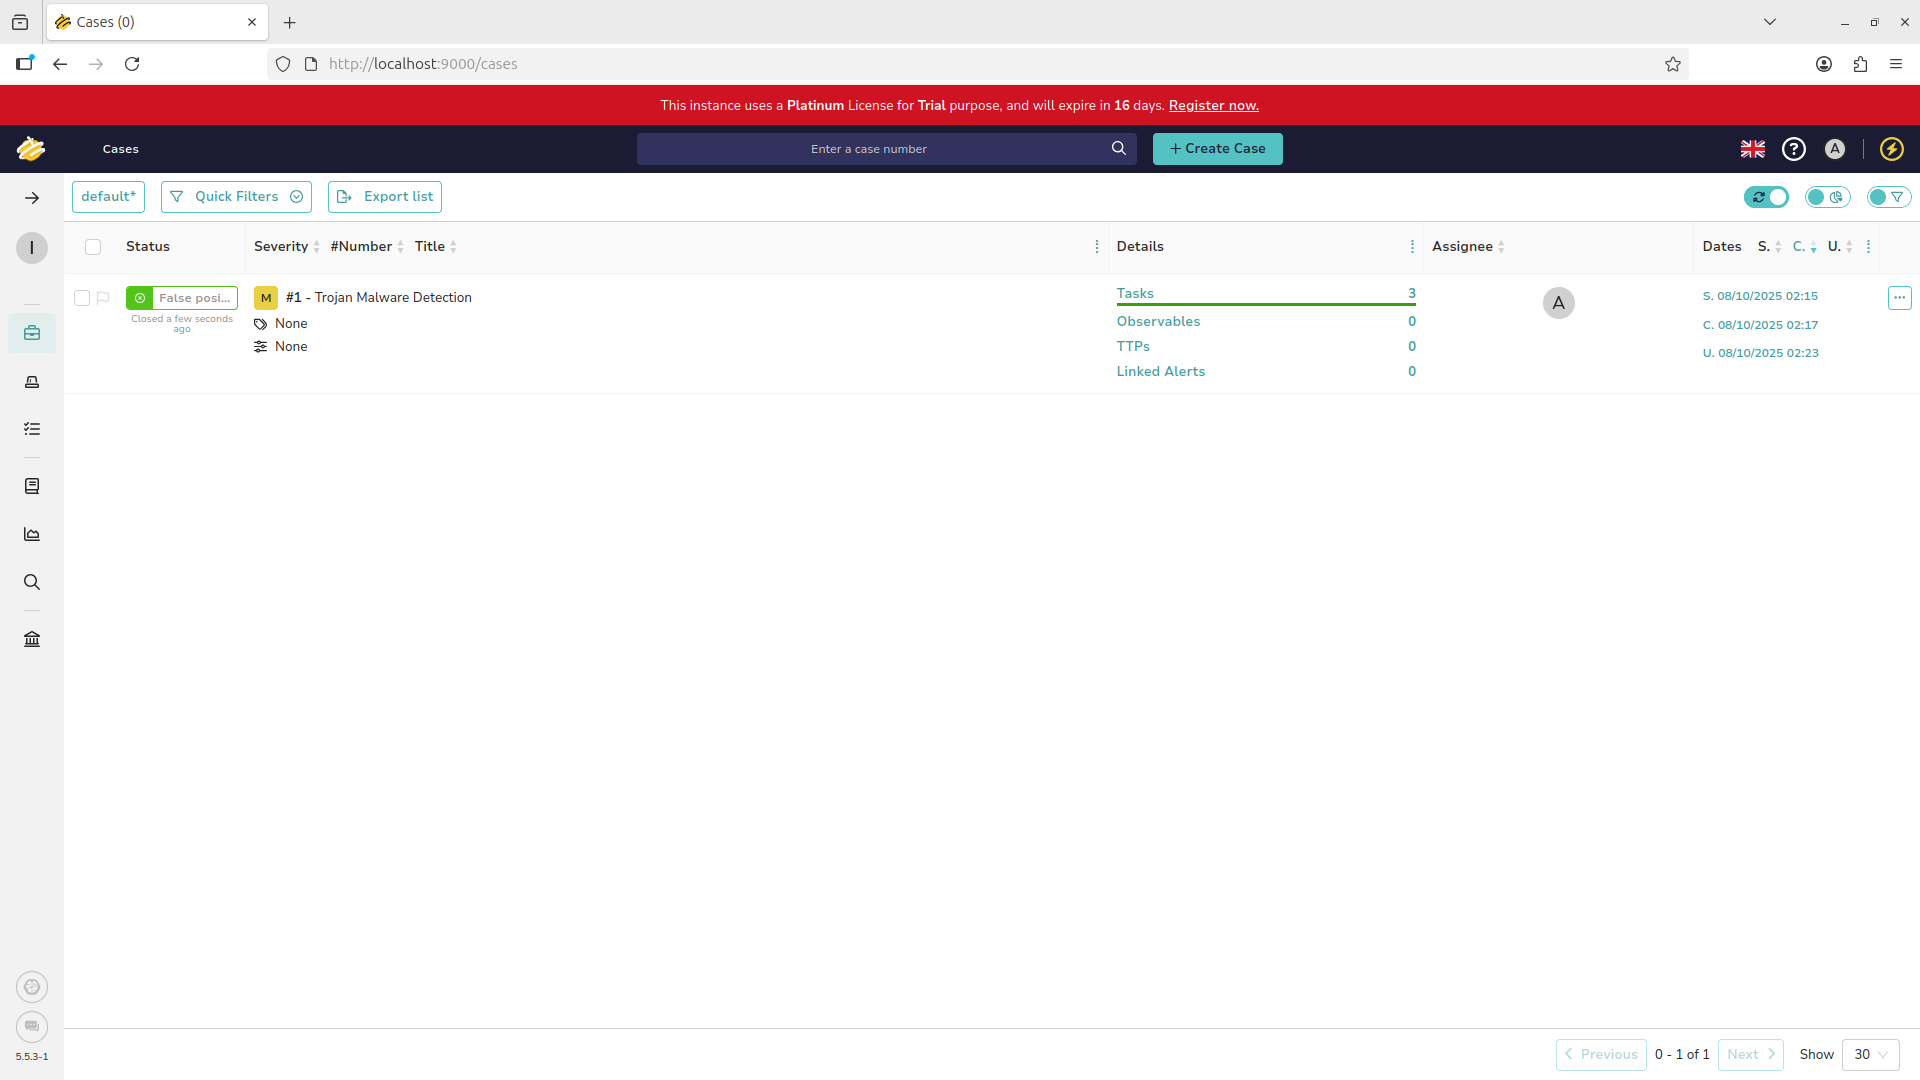
Return to the cases view with the leftmost panel. We can now see that the case has been marked as closed:
Congratulations on gaining hands-on experience with a critical skill for work in Information Security Operations
This lab demonstrated core incident response workflows using theHive, an open-source security operations platform
You have provisioned users and assigned granular permissions, investigated, created and triaged security tickets
The lab concluded with remediation actions and formal case closure, reinforcing threat management and SOC operations